[Article is broken into 6 parts for posting]
Project Overview, a DIY Plywood Box Camera
The idea of building a ‘simple’ 8×10 box camera revolved around two key points. The fact that I now have a fully functional darkroom and the availability of two very unique lenses capable of covering an 8×10 inch piece of film.
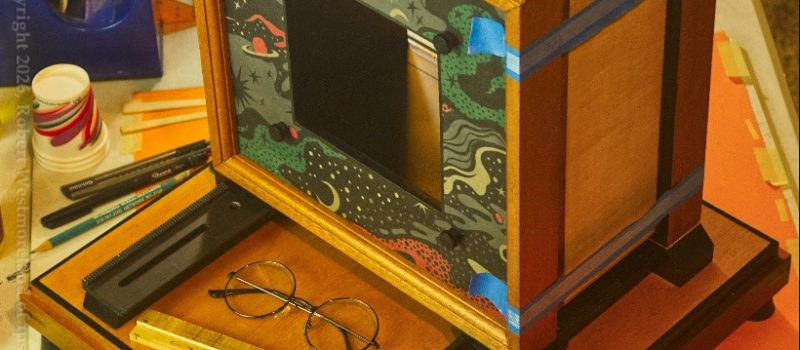
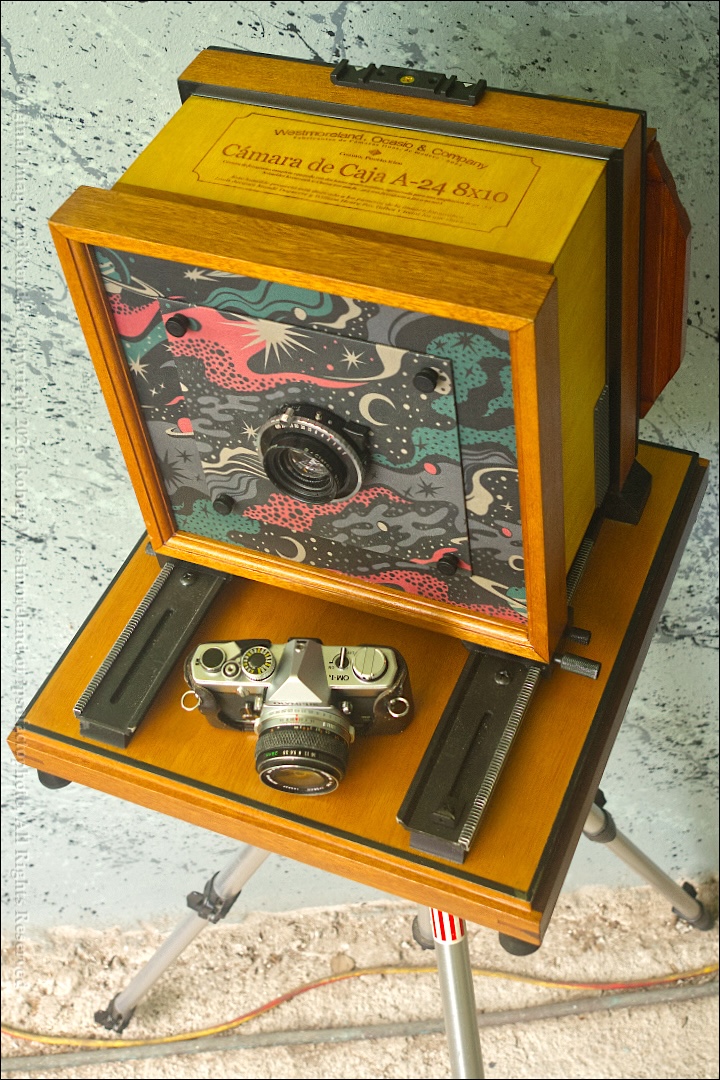 The ‘ready to test’ A24 8×10 box camera with 210mm F9 lens and an Olympus OM-1 35mm SLR for scale
Lenses that cover 8×10 either date back to the end of the 19th century, with lenses achieving a high degree of achromat precision by about 1910, followed by fully color corrected lenses by the late 1930’s. Or they are newer lenses formulated for industrial applications, like the process copy cameras I’m familiar with. Obviously, this makes for a wide spread in performance, condition and price. A few of those old hand-ground, brass barrel lenses command astronomical prices. Some are simply junk.
The Lenses-
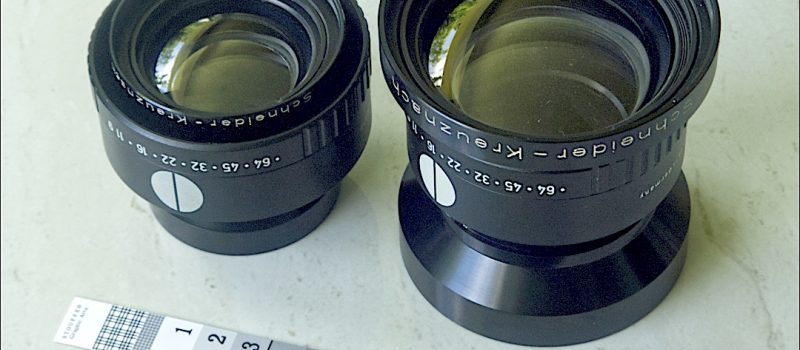
These two lenses were scavenged from an AGFA® process camera I owned back in the late 1980’s. Set to f22 they will both cover 8×10 at infinity… The 210mm lens has a relatively ‘wide view’ and a 305mm which is considered ‘normal’ for 8×10. That’s just enough distinction to make it interesting. Both of these lenses, technically speaking, are semi-wide angle, state-of-the-art f9 apochromats. The 305mm will actually cover 11×14 at infinity.
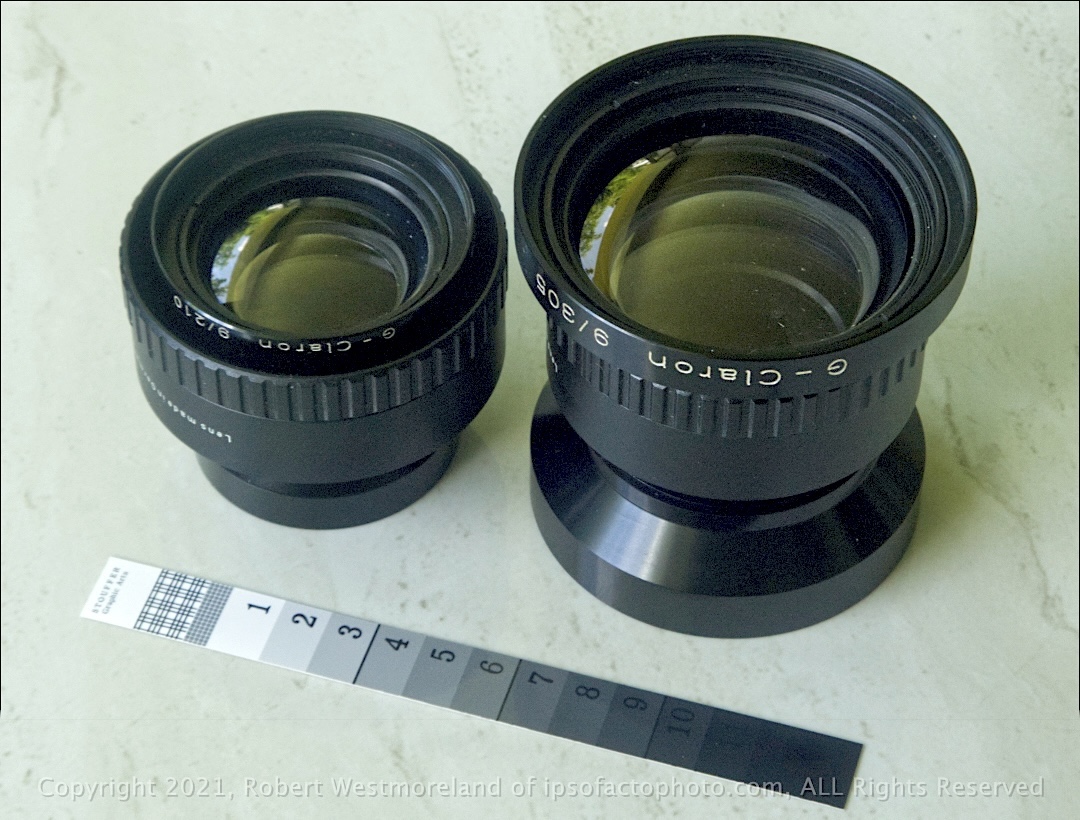 Semi-wide view apochromat lenses from an AGFA copy camera
So, if I could build a box camera around them, I would. These lenses are featured in more detail under Part 2 of the build.
 Scale matters; a 35mm slide with 4×5 and 8×10 magazines
I spent a lot of time studying what others had done. And honestly, had I chose a bellows over a nested box, the build would have been much simpler. Working with two focal-lengths instead of one, complicated the entire design process. Most box cameras incorporate only one lens, and for good reason.
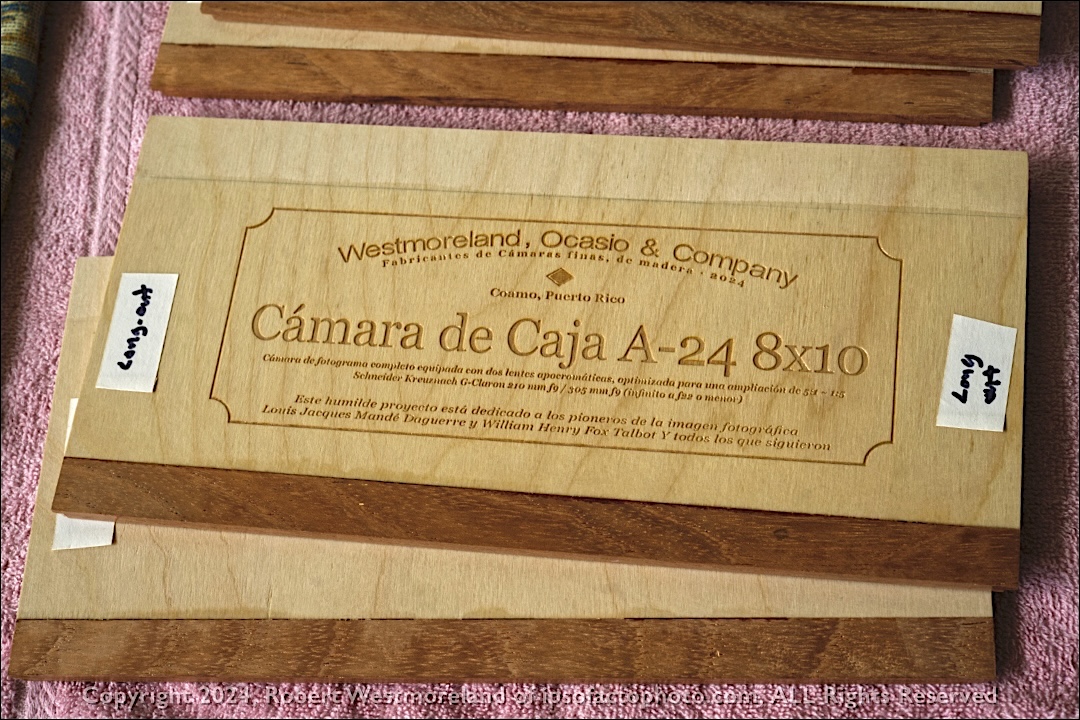 Laser graphic cut into top panel of A24 8×10 box camera
But before I go any further, I want to formally recognize three people that inspired this little DIY effort- James R Kyle and René Smets. Both of them have pages on Facebook dedicated to the craft of classical photography. Though this A24 is a one-off, thanks to them, I saved a lot of time studying their assorted projects. And Nancy Ocasio, who is much more familiar with how to work South American hardwoods than I. In years past, a few hundred handcrafted domino tables shipped from PR, thanks to her efforts. I was able to source all the hardwood I used, from the domino table scrap pile.
The Evolving Plan [KIS]-
I deliberately chose a ridged, ‘nested box’ design over a bellows in order to force a fundamental ‘perspective’ or ‘look’ and keep-it-simple to use. So no ‘swings, tilts or shifts’ to mess with. Sometimes, things will be ‘out-of-focus’ and I’m counting on that. Just the most basic fundamentals… manual focus, shutter-speed and F-stop. Exposure calculation is done separately via a spot-meter or almost any digital camera. Yea, there’s also a cellphone app for that.
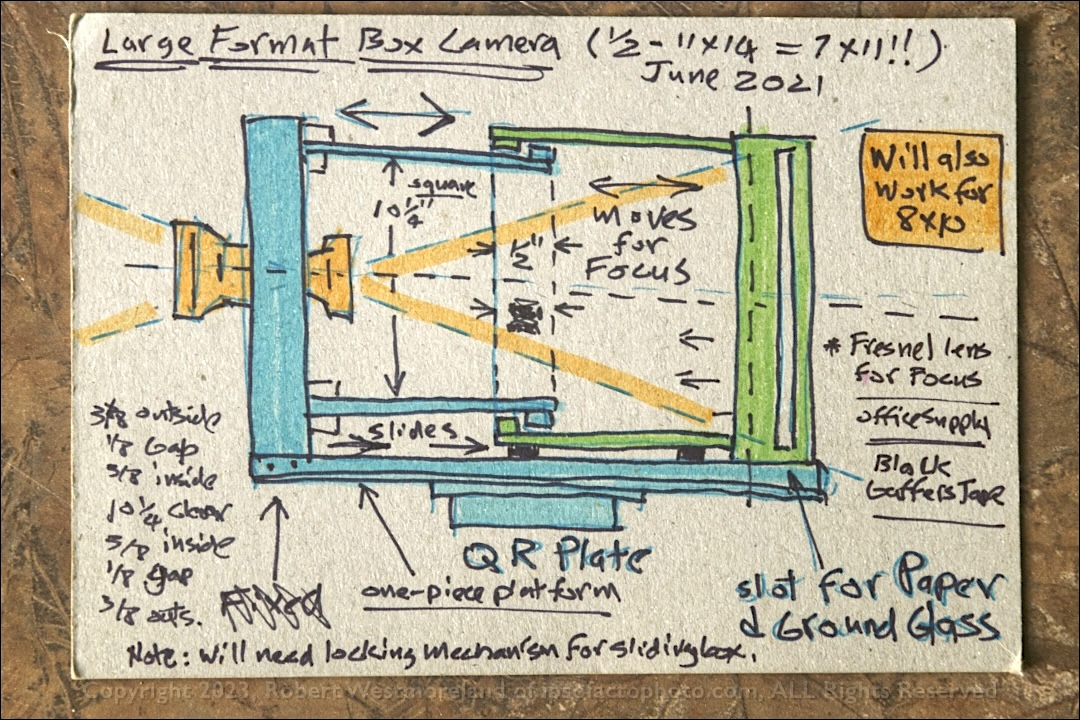 First simple sketch of dozens that followed
My goal seemed simple enough- Design and build a compact, lightweight, but sturdy 8×10 box camera featuring two lenses and reversible back with ground-glass.
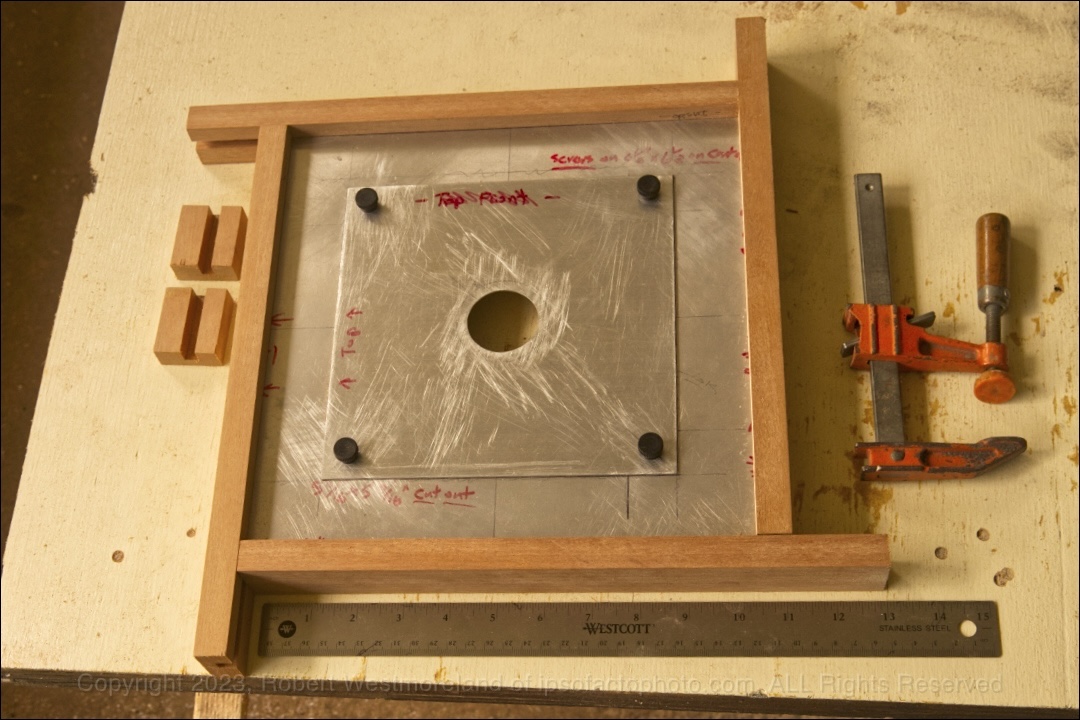 A24 8×10 front kens frame rough fit to Aluminum stiffener and lens board with nylon screws
Needless to say, this project pushed my woodworking skills to the limit. Seriously, I’m no craftsman by any standard, but I enjoy making stuff. I spent about a quarter of my time ‘fixing’ mistakes made while trying out new construction techniques. I think of the end result as more of a functional prototype than a piece of fine woodwork.
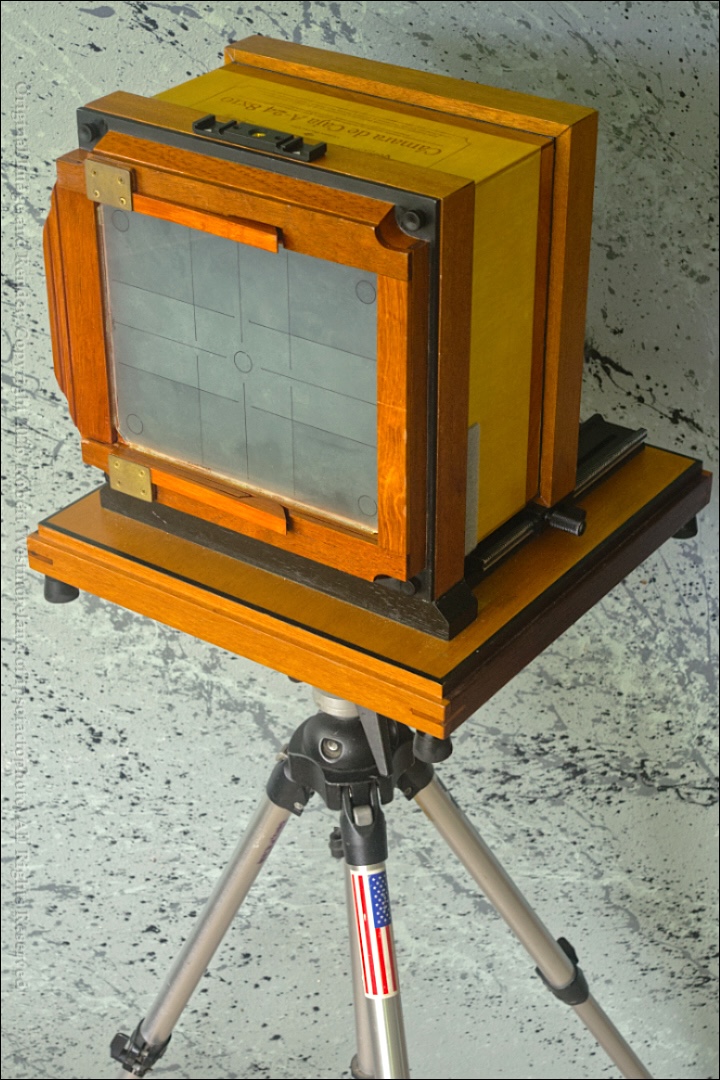 A24 8×10 rear view with Magazine Holder Assembly & Focus Panel
Even though this effort was spread over several years and it’s still not done, the camera is fully functional at this point.
 1st Exposure test of A24 with the 210mm F9 lens on expired AGFA B&W photo-paper, before dealing with light-leaks around the edges
The Focusing Hood Dark-Cloth
Two hook-n-loop patches were secured to the sides of the rear box so a dark-cloth could be attached to the rear of the camera. Focus is set at the ground-glass with a 6x loupe so you have to block out as much stray light as you can while setting focus and fine-tuning crop. Hence the need for a full blackout cloth cover. Amazon had them for a reasonable price so I scored a red one with a black liner. The Focus Cloth is kept in a ziplock and stuffed inside the A24’s nested boxes for storage.
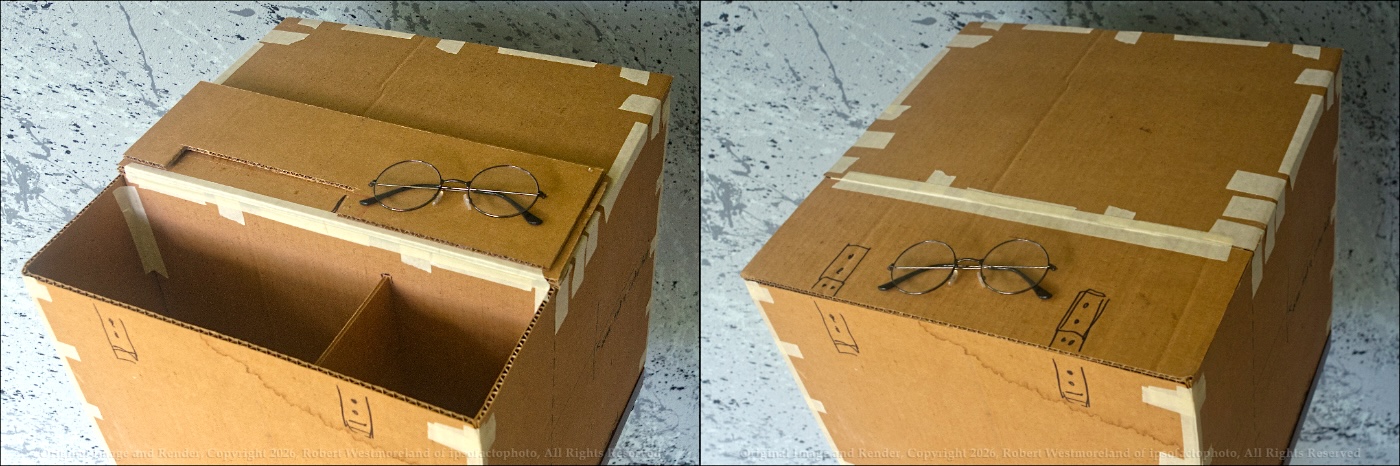 Full-scale, cardboard model of Cover Box with storage compartment
What’s left to do? It still needs the plywood cover that will serve to protect the A24 from the elements.. The Cover Box will be secured to the Base Plate with 4 spring-loaded clips and will feature a large compartment built into it as well. That way the 305mm F9 lens, ground glass focusing panel, a few 8×10 magazines and some type of light-meter, fit into one convenient kit. A heavy kit.
This ‘side-project’ is something I’ve been working on between other things, like updating the IFP website, darkroom stuff, or yard and garden work. So it might be awhile before I get back to it.
It’s a ‘work in progress’.
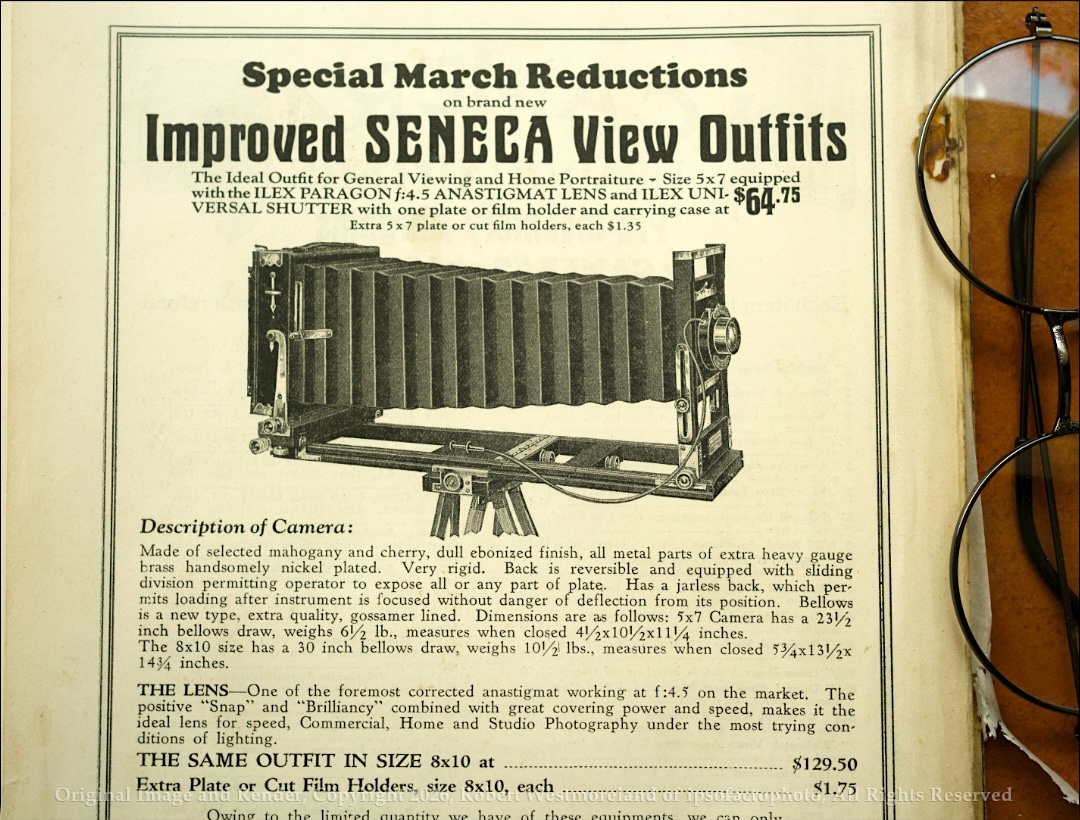 Back cover ad, Camera Craft magazine, March 1927- Seneca 8×10 with lens for $129.50
A Few key lessons, learned…
‘Skip the box, make or buy a bellows’, ‘don’t use Aluminum for moving parts’ and pick ‘a’ lens if you truly want to ‘Keep-it-Simple’. Or score an old wooden camera with bellows and restore it.
Once I finish the plywood cover, I would have no problem taking it into the field.
This ‘Part One’ pretty much covers the basics of the entire project. The following posts delve into the nitty-gritty of it. Live and learn!
RDW