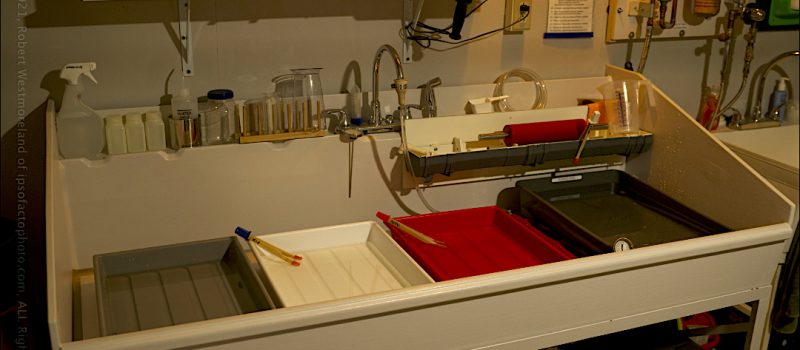
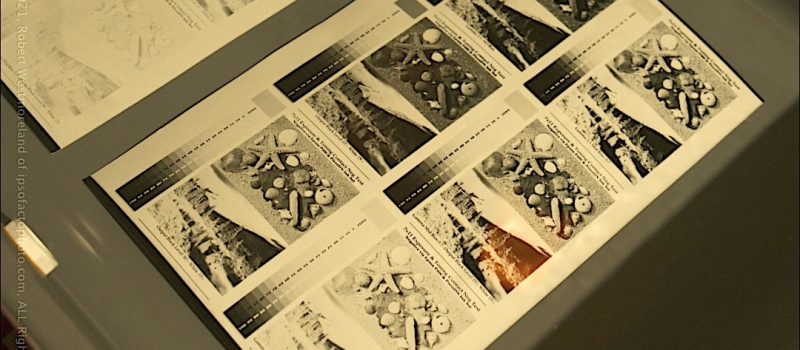
A darkroom, at MY age? What the heck was I thinking?
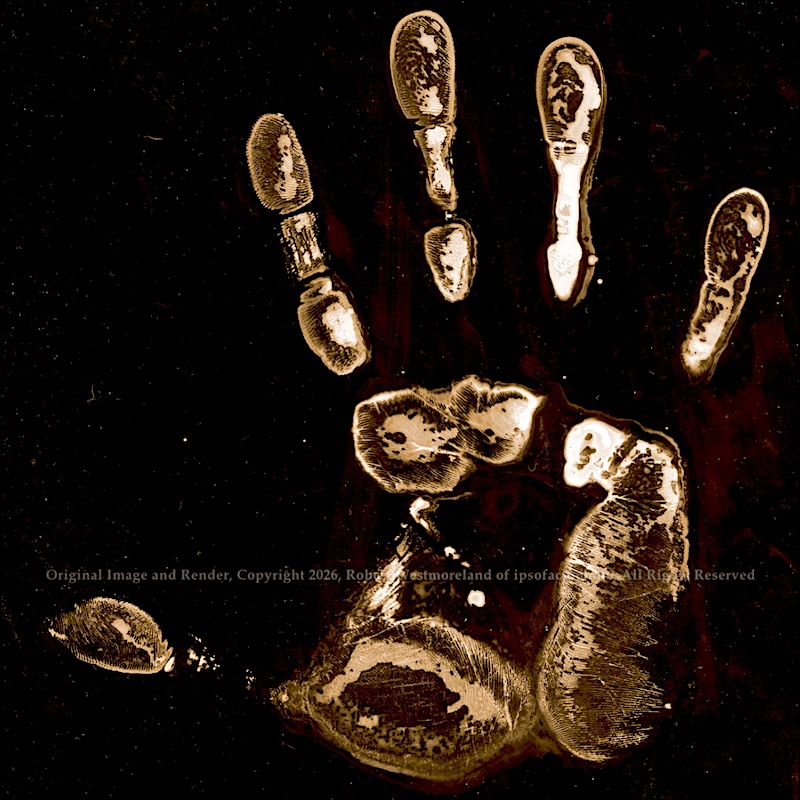 Wet hand pressed to Litho-film, developed in room-light, late 1990’s
I toyed with the thought of putting in a darkroom before making the move to PR. Then decided I did not want to be fiddling with enlargers. My own marketing research spread over several years, determined the target demographic for conventional B&W prints was small and driven mostly by the work of dead photographers. Besides, what about the digital side of my effort? I really enjoyed doing the PR Blog, spending time checking out the island.
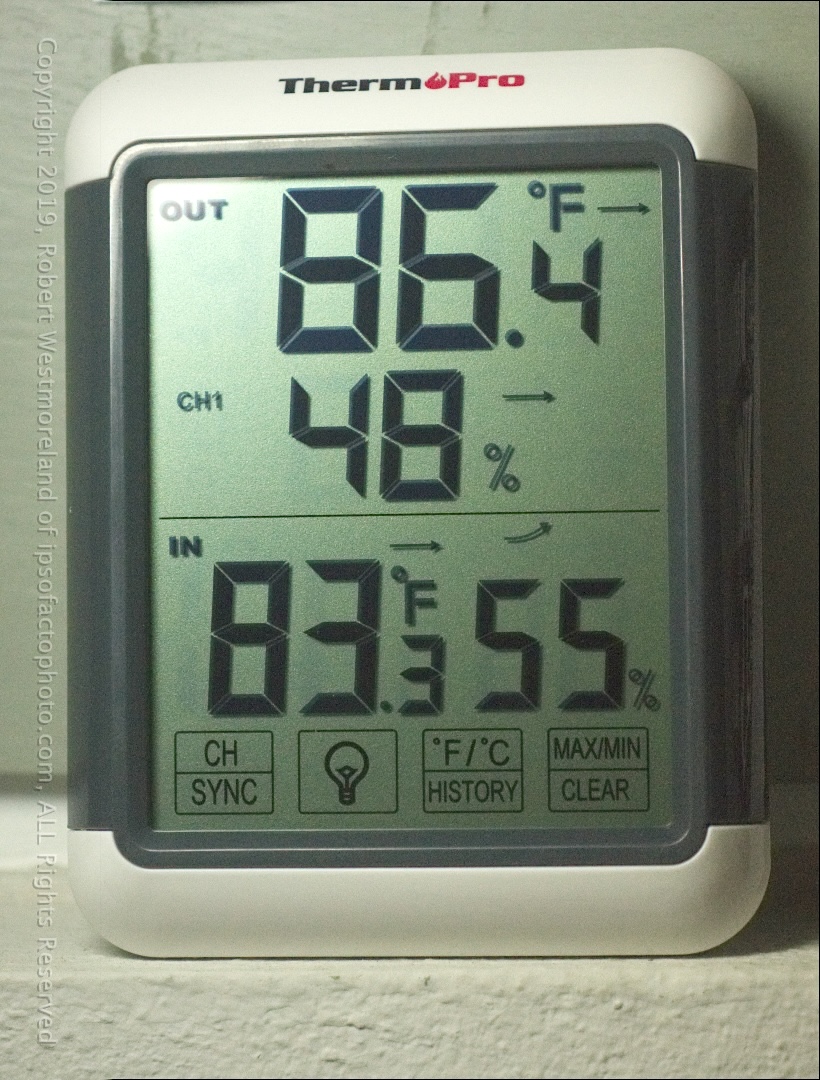 Average temp and humidity for where we are in PR
I did hedge my bets by hanging onto a few ’special’ parts… Pieces to gear that might be hard to find – A NuArc vacuum frame (26”x30”), but only the rubber blanket, Aluminum frame, vacuum-pump and bleeder valve, minus the metal base, the glass and light source. Plus the brass head to a table-top debossing press… the part that gets hot. I still have the debossing dies for my IFP logo as well. So only parts and pieces. Just a few print-related items I had already collected.
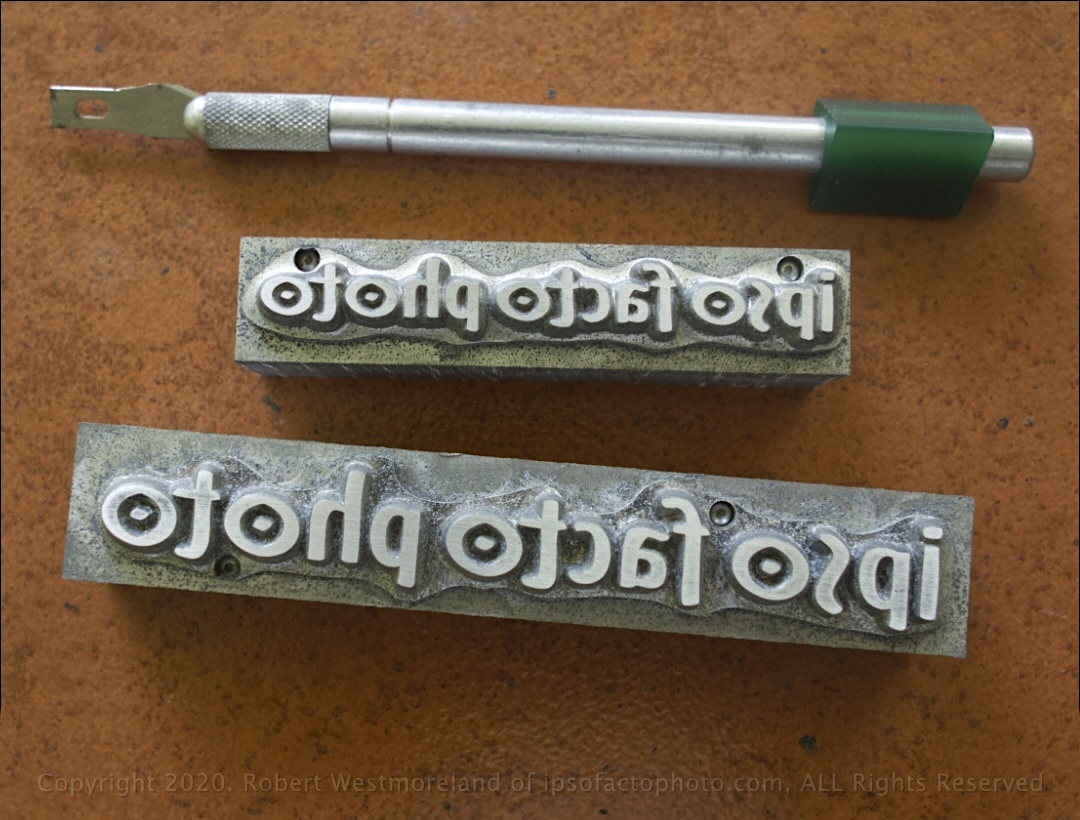 IFP logo rendered as debossing dies
What changed my mind?
Three things… The thought that I could render color images by hand with relatively simple processes, based on full-size contact negs I could make myself.
Along with the timely convergence of art buyers interested in traditionally produced prints, authentic prints, and who posses a willingness to make those purchases directly from the internet. My ‘target demographic’ grew up with the internet. They aren’t threatened by it.
But mostly because a few of those processes allow you to work with raw pigments directly. That got me thinking about how subjects could be rendered in just two or three distinctly different colors. Not full color, but maybe black and blue, or blue and red, or orange and green, or deep yellow and purple.
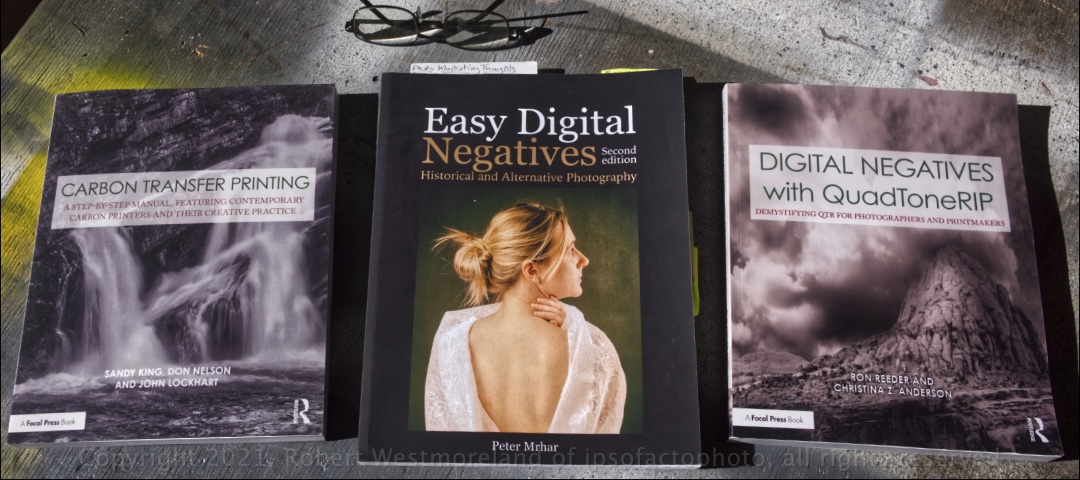 Three from the collection…
Several years into living here, I started reading about how some photographers were making prints the old-fashion way, in the darkroom. Most were using processes that predated the B&W print most of us are familiar with. Print processes from the late 19th Century. Something I had never attempted.
Sure, I had read about Cyanotype, Gum Bichromate and Carbon Transfer prints, but to do that you have to work with negatives as large as the print you want to make- i.e.- contact negatives, at full size. Most of that older work was done by shooting from big view cameras or enlarged intermediary negs made in the darkroom. Way more work than I wanted to do. But I did admire the ‘look’ of those prints and the effort that went into them.
The Advent of the digiNeg
What’s changed is how you get to a full size ‘contact neg’. Some dedicated diehards still make contact prints from the negs they shot on an 8×10 camera. Those folks would be the true masters of the photographic process. I’ve read most of what they’ve published both commercially and via internet forums, all in an effort to do ‘catchup’. Plus a few YouTubes as well.
Digitally generated ‘contact negatives’ have the advantage of finite tone-scale correction and specific adaption to any given print process. A ‘melding’ of digital to analog. Sounds good to me.
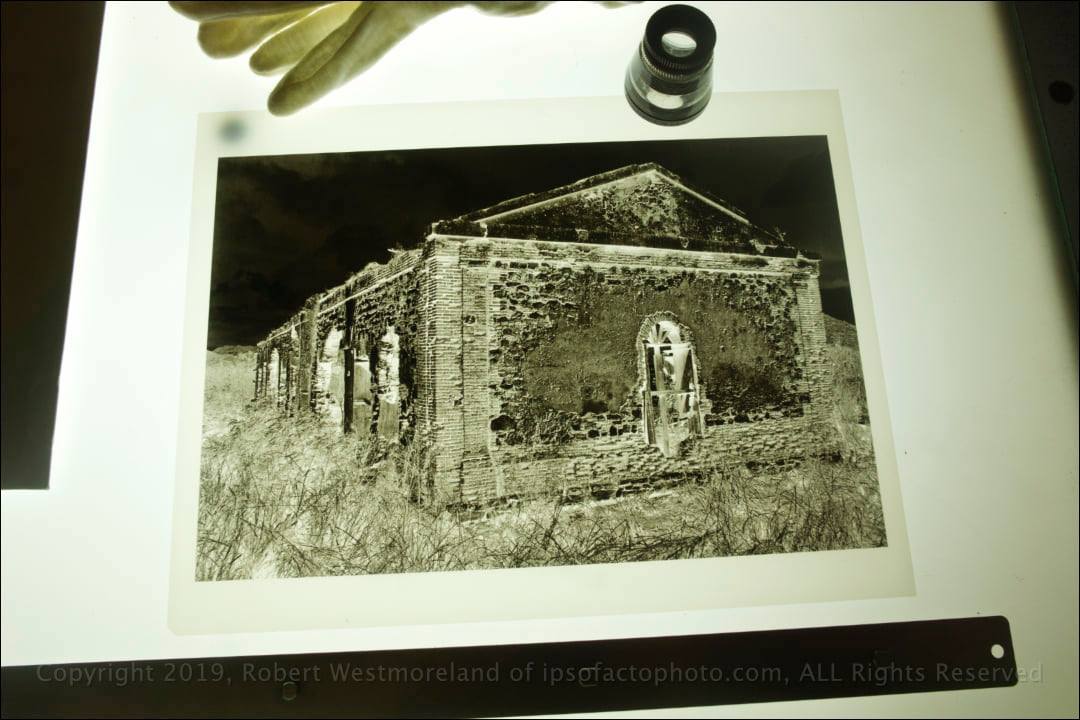 My first DigiNeg produced from an Epson P400 inkjet printer
We also have access to special third party all black, shades-of-gray inkjet ink carts, if one wants to dedicate an inkjet printer to just making negs. Which I did.
I’ve owned several Epson inkjet printers over the years. My first pigment based Epson was a 7 color Stylus Photo from 2004. The SureColor P400 I have now, has already ‘aged-out’. So I’ll be replacing it in the near future.
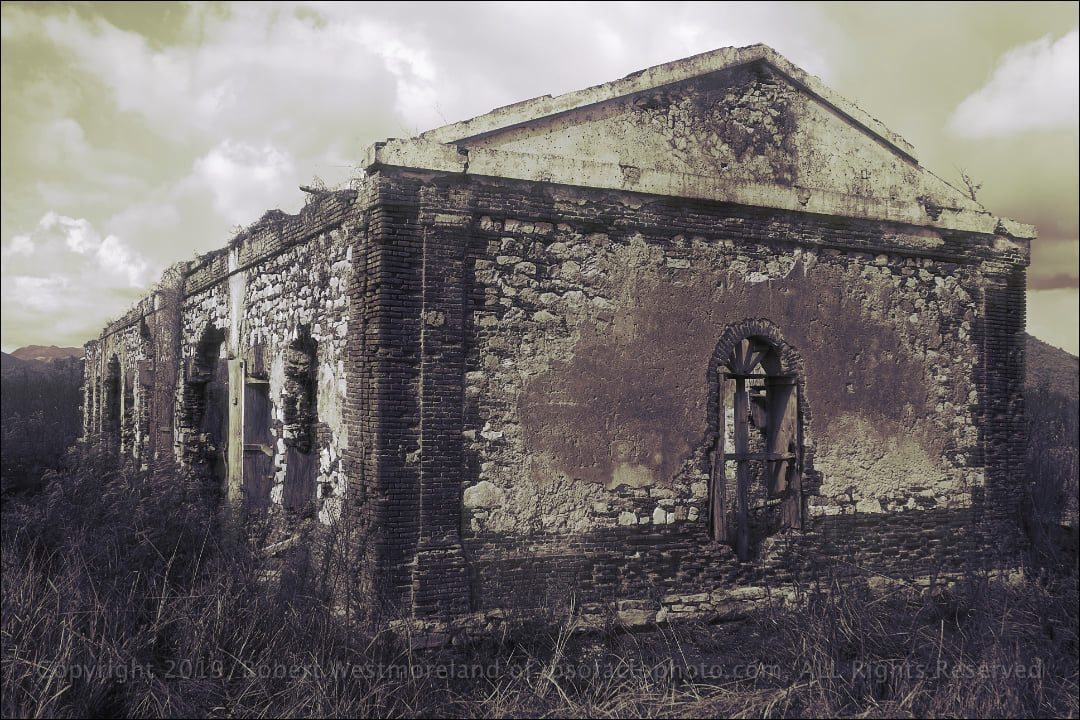 Digital color image from a Sony NEX7 1st rendered as a B&W, then digitally toned for effect. This is the ‘look’ I’m looking for, but not an actual contact print.
Once I saw how this could work, I ran down that rabbit hole and never looked back. For me, the darkroom build-out is more like a quest since I had to fabricate much of what I needed from scratch. I knew it would probably take years to do, and I might never get it done. But that was then and this is now.
I’ve spent a chunk of time studying the different classical processes and how creatives are making their own full-size digital contact negs. Along with determining the best color-fast pigments for the processes under study. At this point I have a pretty good collection of raw pigments and watercolor paints.
I’ll illustrate my approach to generating digiNegs, in another post.
The fact that several of these processes predate conveniences like running water or ‘flip-the-switch’ electricity is not lost on me. Some photographers were still exposing to glass plates when they were first introduced.
 Page from an 1889 photo magazine.. “The Wonder of the Age”
Ultraviolet Light
Besides the fact that you need a large neg, you also need a strong UV light-source to make exposure.
Obvious Warning- Direct exposure to any high UV light-source can give you a sunburn, AND always avoid looking directly into it. Exposure to UV light is easily managed, so always err on the safe-side of things. Wear eye-protection, if needed.
Quite literally, in the late 19th century, they were using the Sun as their light-source. That’s how old these processes are. A couple of sheets of tempered glass with ground edges and a few clips is all you need for that. Of course I’ll be using something more convenient, more precise.
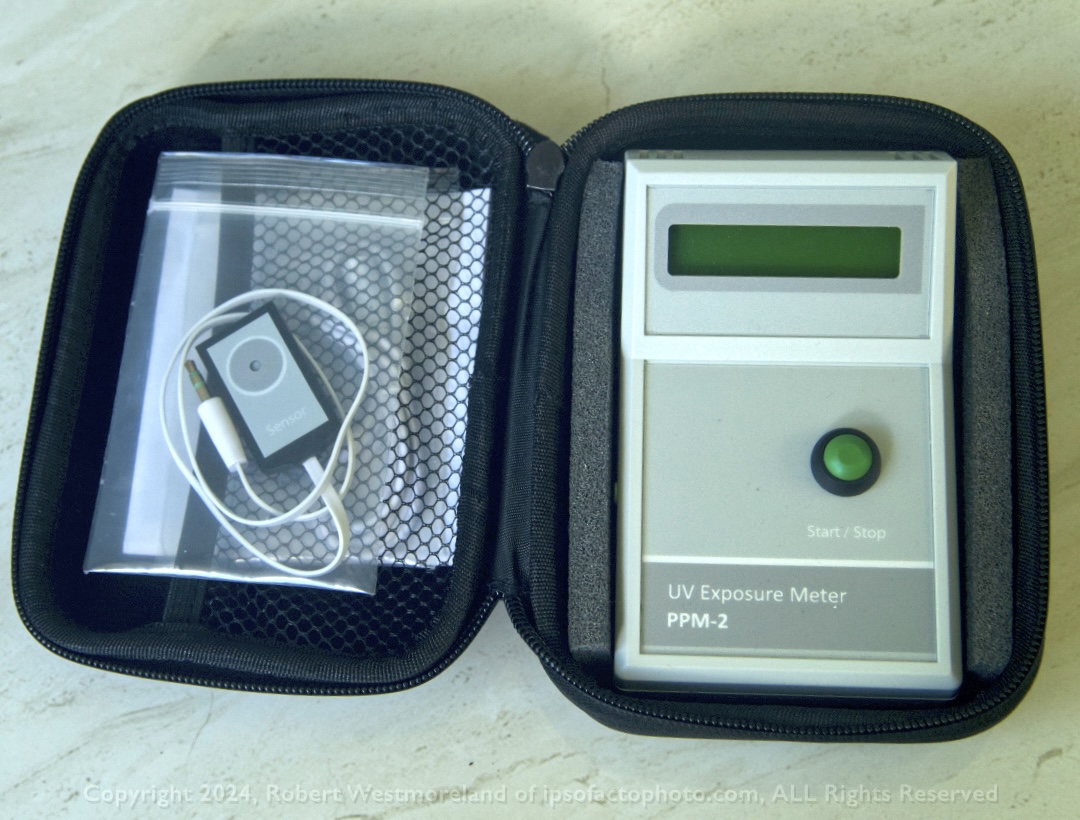 Battery powered UV integrator with sensor cell
At this point most creatives are using LED UV strip-lights in a shallow light-box to make exposure. Some of them feature vacuum frames and UV light integrators as well. Thing is, I’m not a fan of ‘diffuse light’ for contact work. I prefer working from an old prepress plate-burner (with light-integrator).
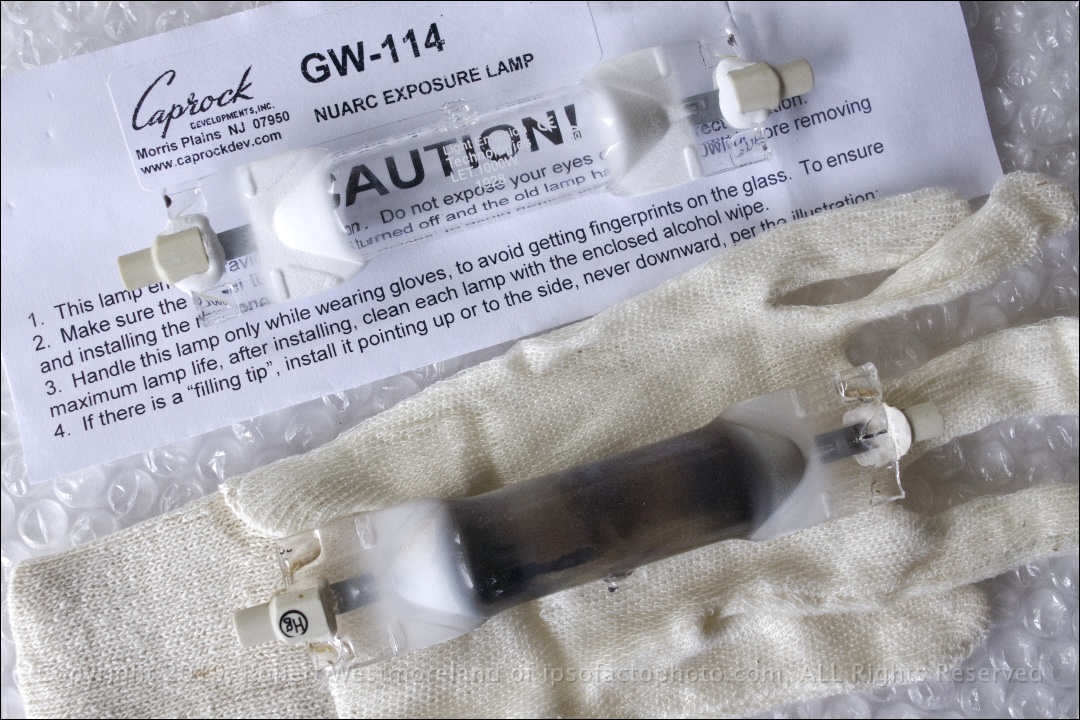 A new bulb versus the old one
I eventually found a well-used table-top plate-burner in Mayagüez at a fair price. I don’t think the bulb had ever been changed, but it works. It has a new bulb now. The plate-burner, a 1,000 watt mercury vapor unit is small, but big enough to expose the largest neg I could make. Maybe even expose 3 or 4 prints at a time? So ‘just right’!
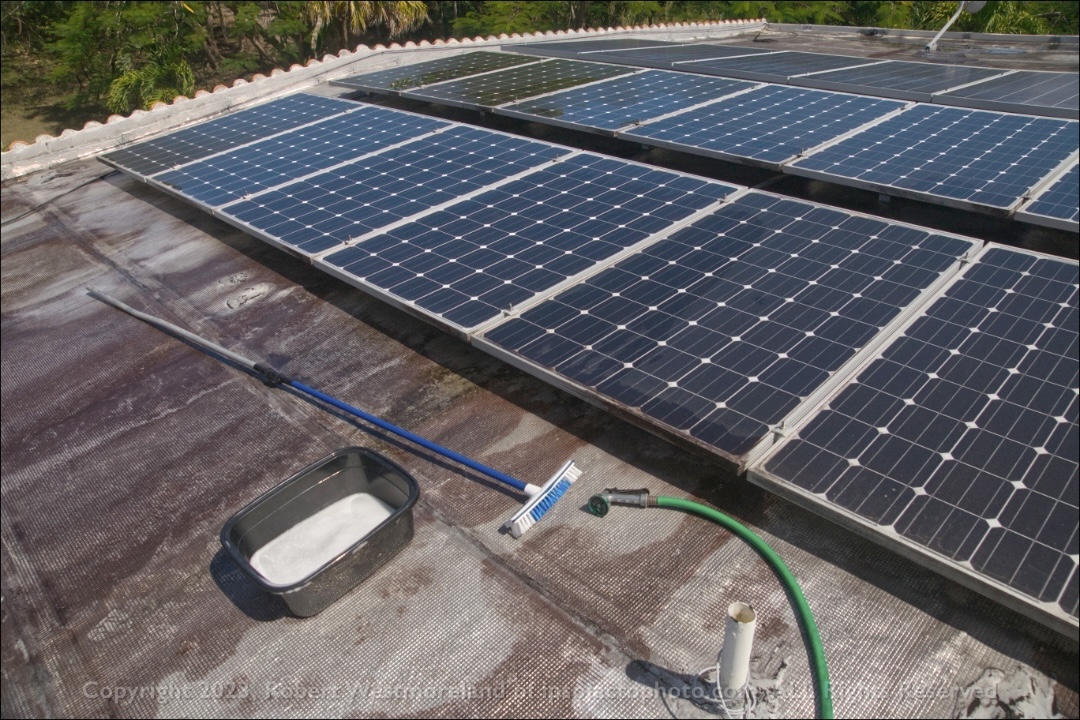 Solar on the roof, before cleanup
Hurricane threats
Shortly after hurricane Maria passed through, we had a full solar panel set with commercial inverter and a bank of APG batteries installed, then upgraded to Lithiums a couple years later. Since then, we seldom notice when the local utility drops out. Of course we are still connected to the grid so we have it if we need it.
The AltPhoto Darkroom
This is not my first rodeo, but it will be my last.
To be clear, I’m not the only one creating prints this way. A few thousand creatives in the USA and many more elsewhere, are busy making prints via a ‘digiNeg’ and have been doing it for a while now. The quality and creativity of work being produced today, is nothing short of phenomenal, while still retaining genuine authenticity over the technique. That’s important to some.
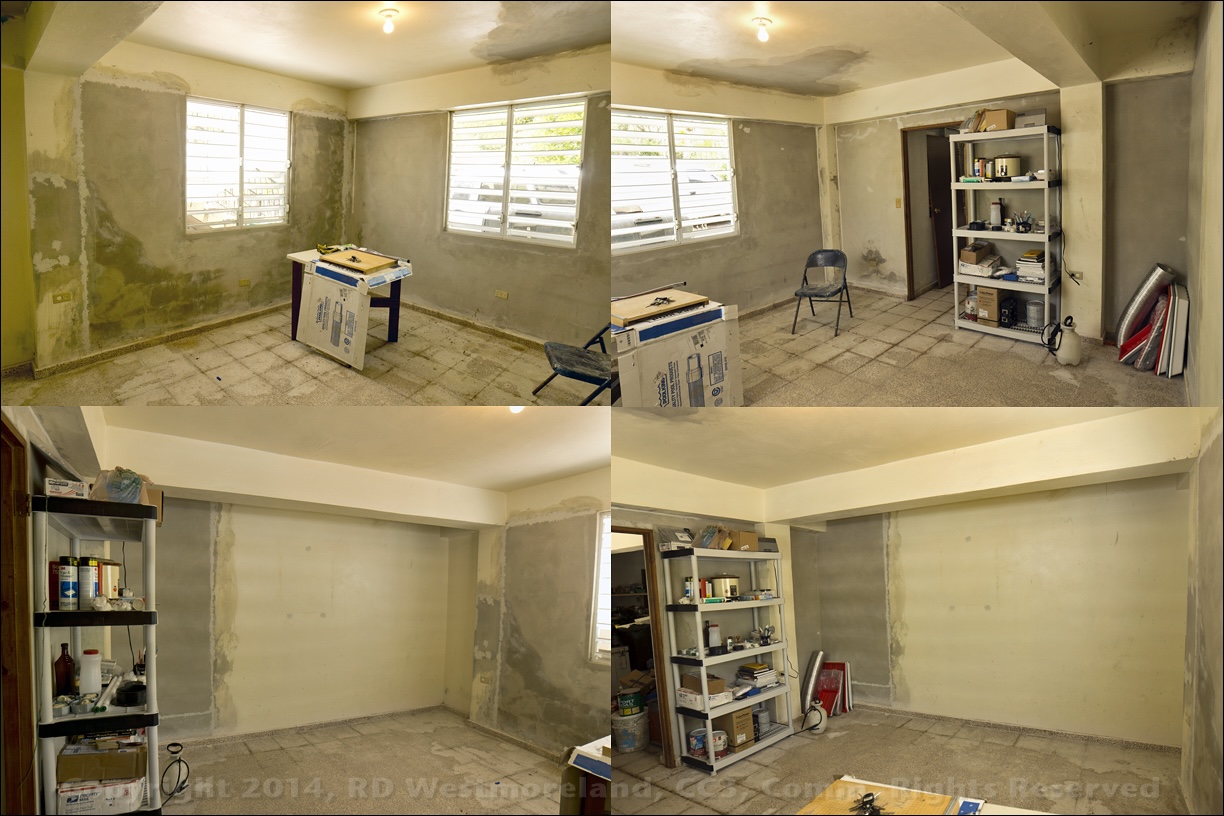 Room ready for paint after a fresh application of Empañetal
The new darkroom is about 13×13 feet, with windows on two walls. A generous working size for one or maybe two people. For a sense of scale the floor tiles are 1×1 foot. The ‘view’ is badly exaggerated by a 14mm lens. The concrete beams are not ‘bent’. The lens did that and I left the images uncorrected.
An Additional Workspace
Originally, I planned to do all the digital editing and inkjet work from the new darkroom. That would have worked. But I was able to clean up another room for making the digiNegs. This other space also features a small light table for reviewing my old film, a DIY copy-stand, and the tabletop DIY debossing press. There are shelves for gear and supplies and file cabinets for film & prints.
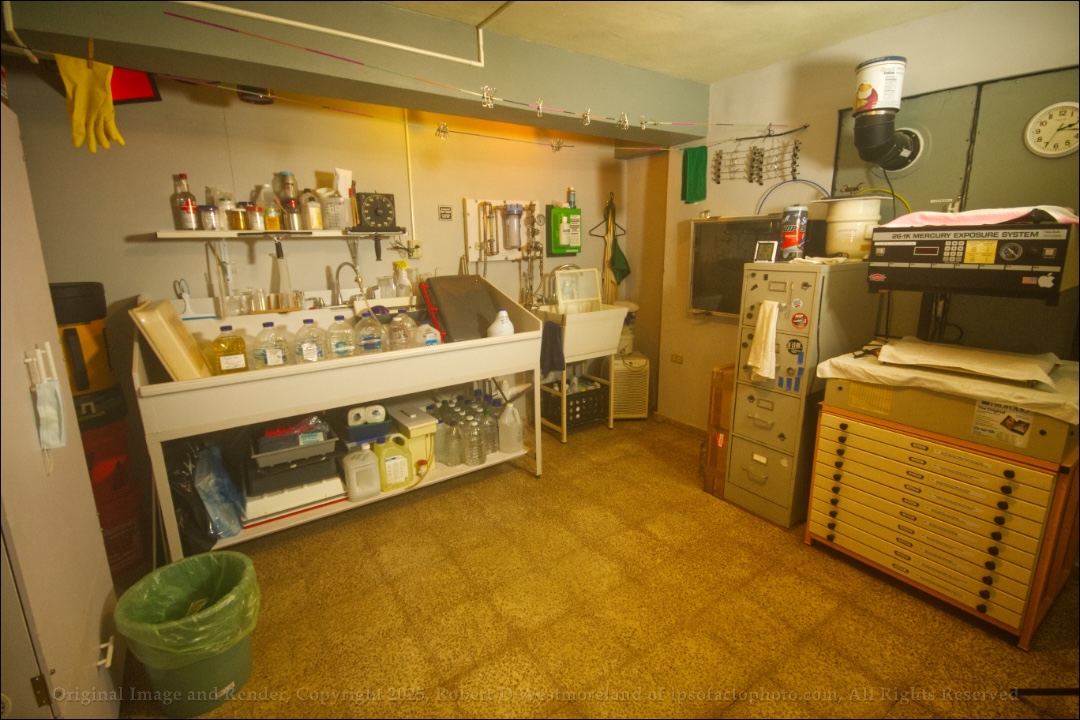 Wet Wall- AltPhoto darkroom completely tricked out, late 2025
It’s worth noting, we get ‘city-water’ where we live, then out to a septic tank. We maintain a reverse osmosis water system so there is plenty of clean drinking water. Of course, I use distilled water for mixing chemicals. Since we are on our own septic, I reduce exhausted photo-chemicals to a solid, via evaporation, then dispose of that. The tiny bit of trace chemicals in print rinse water would be so negligible, it does not constitute a health risk.
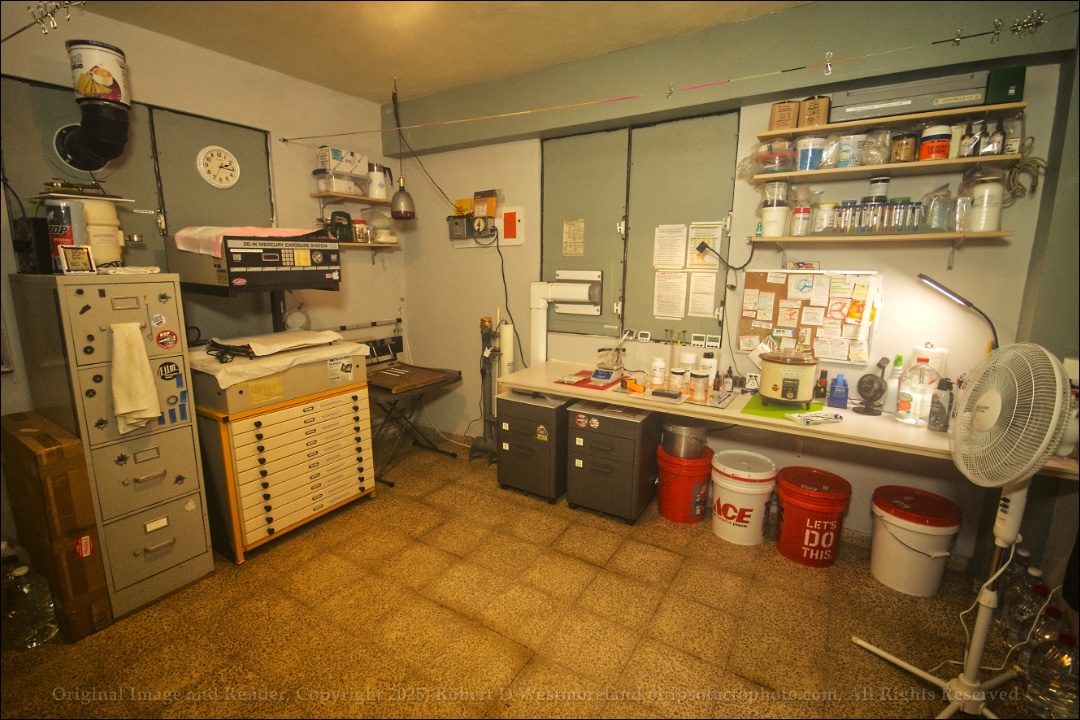 Dry Wall- AltPhoto darkroom completely tricked out, late 2025
I’ll admit, I could have been making prints months ago, years even. But I kept coming up with new DIY solutions to certain processes, then fabricating the gear I will eventually need. There is a certain level of productivity I’m trying to achieve. So I needed to nail down as much of this as I could before I got busy.
The obvious difference between this approach and a more traditional one? No enlargers.
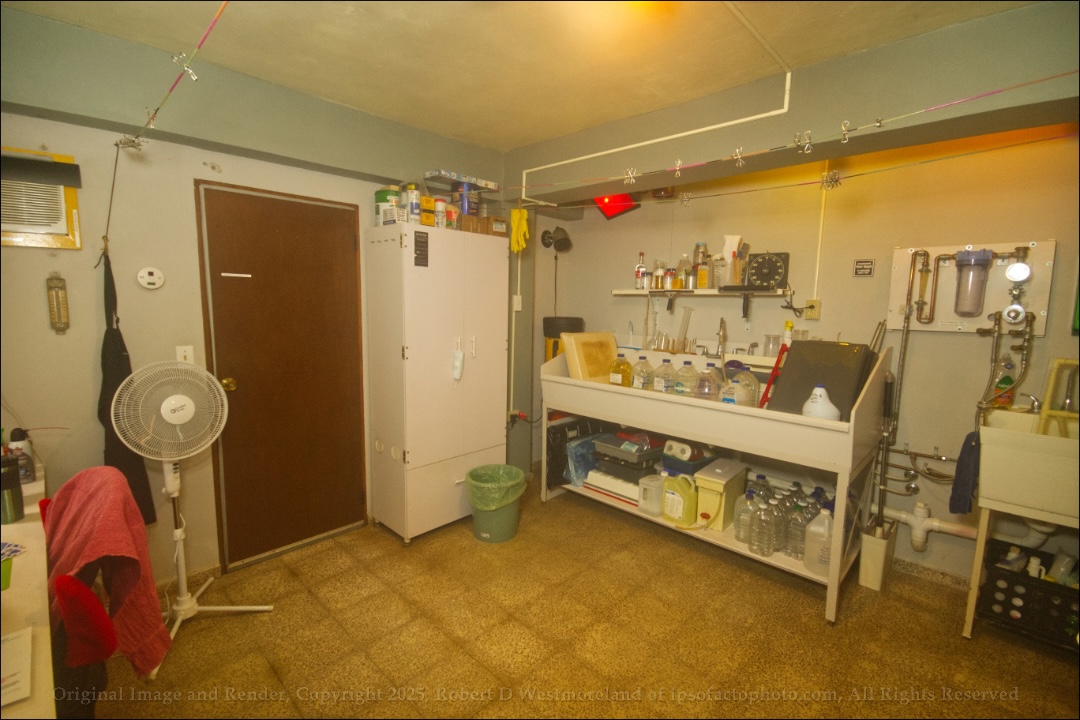 AC on left, door, film drying cabinet and Shop Vac tucked into the corner, behind the long sink.
Part One covered all the ‘basics’. Part two I take a deep dive into the individual DIY components.
PART 2/2- An AltPhoto Darkroom in PR