A Floor Plan and Formal Build-out
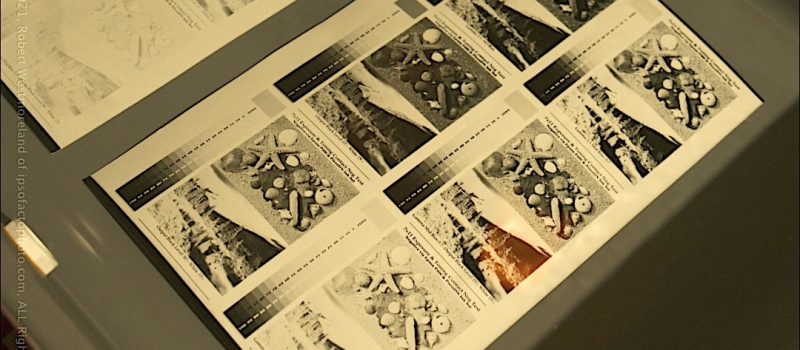
My actual working print size is limited to the max ‘output’ of an Epson inkjet printer, which will take transparent media up to 13” x 19”. The plan is to keep the ‘max live image’ to something less than 12” x 18”… So I have a way to hold onto it and scribble notes in the border as needed. Duh.
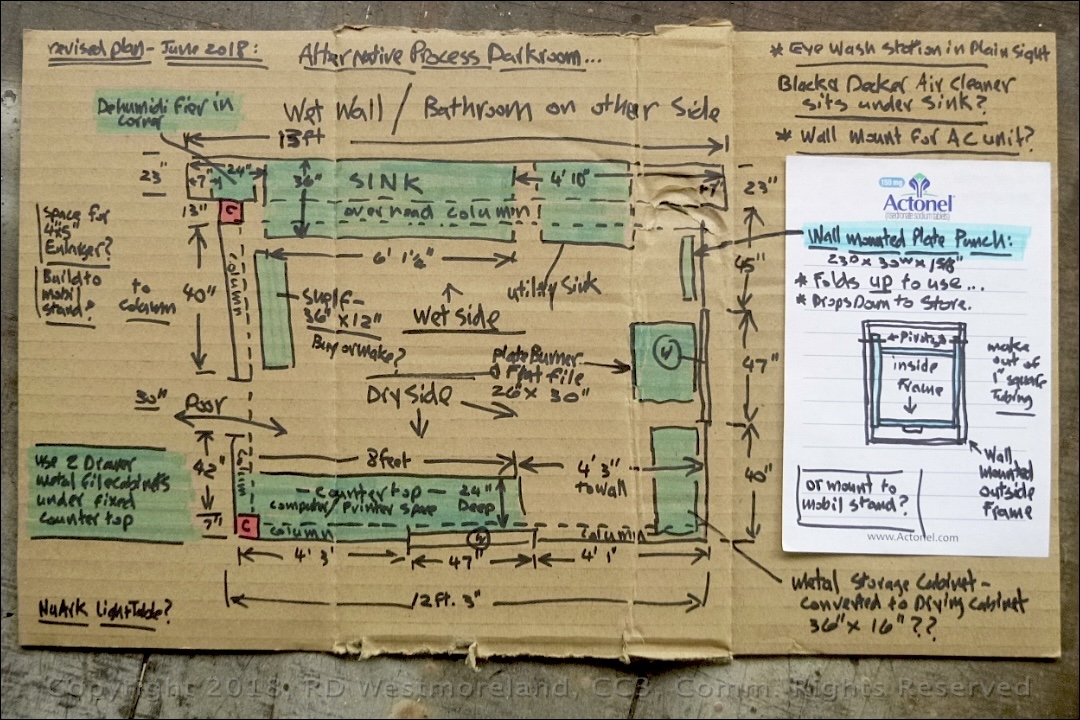 First sketch of proposed darkroom
This equates to trays of up to 16×20 or maybe 20×24. The plywood sink will take up to three of these large trays. Thing is, smaller is better… A set of three, 11×14 trays is a good fit when running the continuous rinse-water tray at the end. That works out to live images as large as 9×12 inches. So most finished prints will be in the 8×10 to 11×14 range… scaled down to fit the mats and watercolor paper I have to work with. Sounds good.
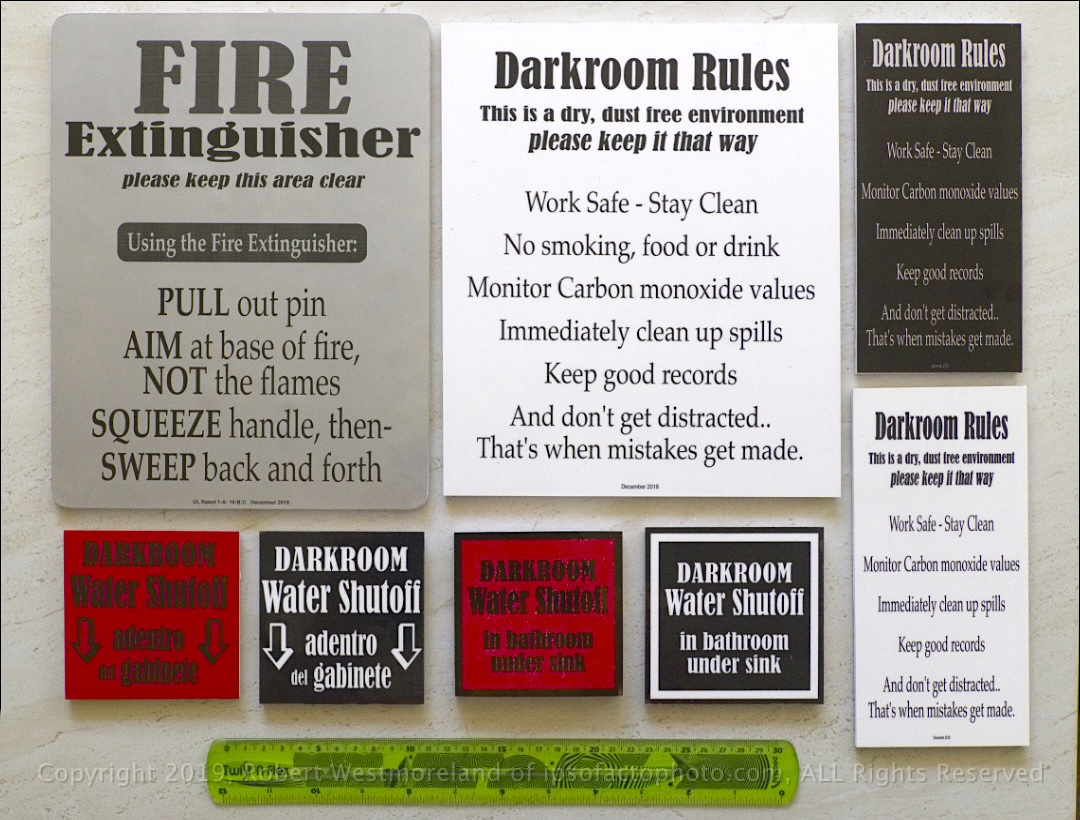 Darkroom signage
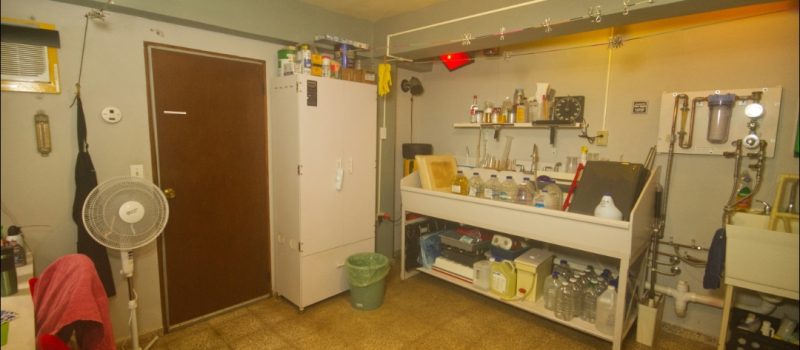
The wet-wall to this new darkroom is directly opposite the bathroom so I was able to tap into that water supply and drain. I added two more shutoff valves to the bathroom side, then made up a couple of water-manifolds for the darkroom side so I could direct water to where it was needed.
Since this AltProcess darkroom is tailored specifically for making prints via digiNegs, I have a K&M point-light source for contacting conventional B&W photo-paper, as well as the NuArc plate-burner mentioned earlier. The DIY flat-file was specifically built to accommodate the plate-burner. I also have a full-size Duarte film punch for multi-color registration, mounted to the wall on a flip-out frame. It hides behind the table with the paper-cutter on it.
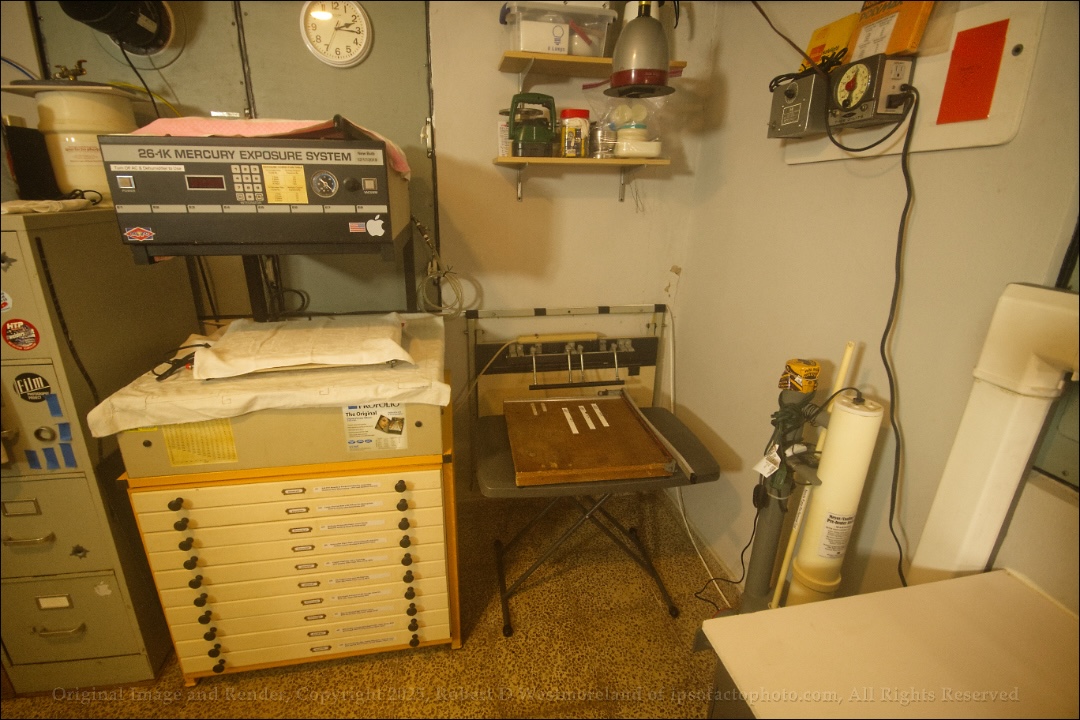 Dry-side corner with flat-file, plate-burner, K&M exposure unit, folding table with paper-cutter and film punch mounted to the wall behind it all
Going forward, I’ll be experimenting with toning B&W prints for effect, a couple of versions of the Cyanotype process and 2 or 3 color Gum Bichromate prints. I have also been working on making a few of my own pigments from locally sourced materials. Something else I’ll feature in future post since I’ve already done most of the busy-work. There are another 2 or 3 processes I want to try like Carbon Transfer, we shall see.
The Key Components
These would be the things related to safety or needed for certain parts of the process, depending on the process. Most of which were DIY projects. There was some crude welding done to thin-wall 1 inch square steel tubing. That’s after watching about 50 hours of YouTubes on the subject. No, I’ll never be good at it, but I am good with a die-grinder, while paint covers a lot of sins.
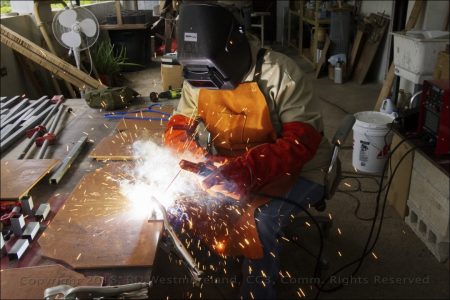 The weekend welder melting stuff for fun
The wall mounted counter top on the dry-side is made from the same square tube and cut-down PVC board. The PVC surface is not as hard as wood so it really should get a piece of laminate stuck to it.
First and Foremost- Air Ventilation with Monoxide Monitor-
Passive Fresh Air & Bath Fan Vent- Since this room has to be light-tight, it must incorporate its own ventilation. The ‘passive air intake’ is mounted to a window via a plywood panel, It features a removable filter from an oven hood. The stale air is expelled by a bathroom vent-fan mounted to a different window. It draws warm room air out, from near the ceiling. I only run this fresh air system when locked in the darkroom for more than 20 minutes. For the venting fan, there is a coarse mesh screen at the wall to keep out lizards. The top of the ‘intake’ features a cracker tin with a fine stainless steel screen mounted to a cut-out lid to keep the bugs out. That screen is removable for cleaning.
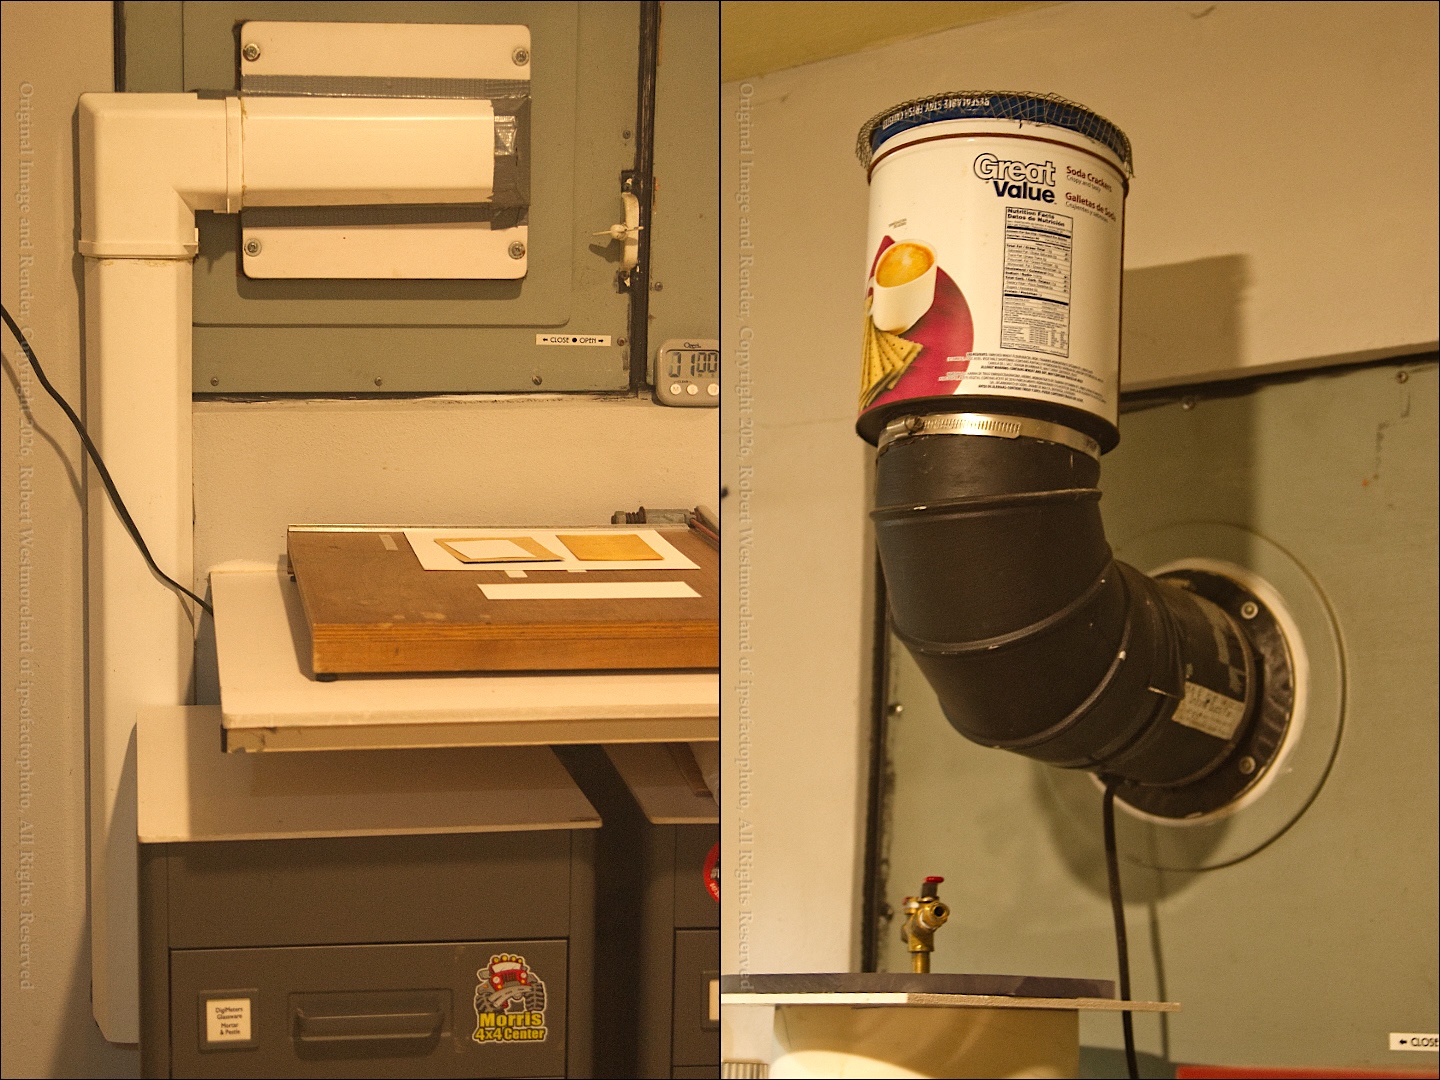 DIY Passive Air Circulation
Room Air Filtration- Keeping a darkroom free from dust is pretty much a ‘fools errand’. Especially during the Dry Season or the near-perpetual dust from the Sahara desert. My solution, I took a “Shop-Vac Air Cleaner” and made a stand for it out of two 5 gallon buckets. One of them was modified for some serious air circulation, then hot glued to it, the other bucket is simply the stand-off. It fits neatly into a corner out of the way, but easy to access. Yea, it’s loud, but because it’s so ferocious, I only need to run it for 20 minutes at a time or when the door to the darkroom is open.
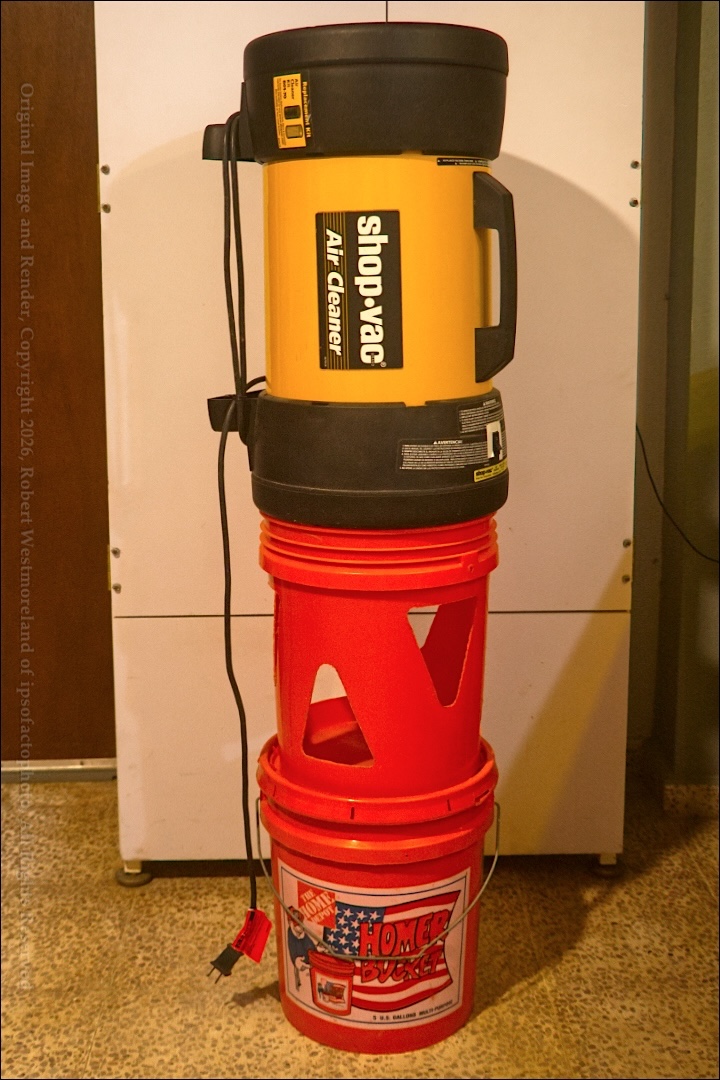 Shop Vac Air Cleaner on modified 5 gallon bucket
The AC Unit & Dehumidifier- The AC unit necessitated cutting a hole in the concrete wall to ‘make fit’. I had planned to mount it on the opposite wall, but the concrete steps to upstairs, were in the way. That was followed by an external anti-theft cage and a light-blocking shroud made from several aluminum press plates painted flat-black. I’ve spent some time studying the daily temperature and humidity swings we experience over the course of several years. Typically, it’s too warm for most of the processes I’ll be using. The winter months or Dry Season is much better, but still in the mid to high 70ºF range. Same issues for humidity. I have a dehumidifier that can easily get it down to 35% or 40%. Anything less than 50% is good.
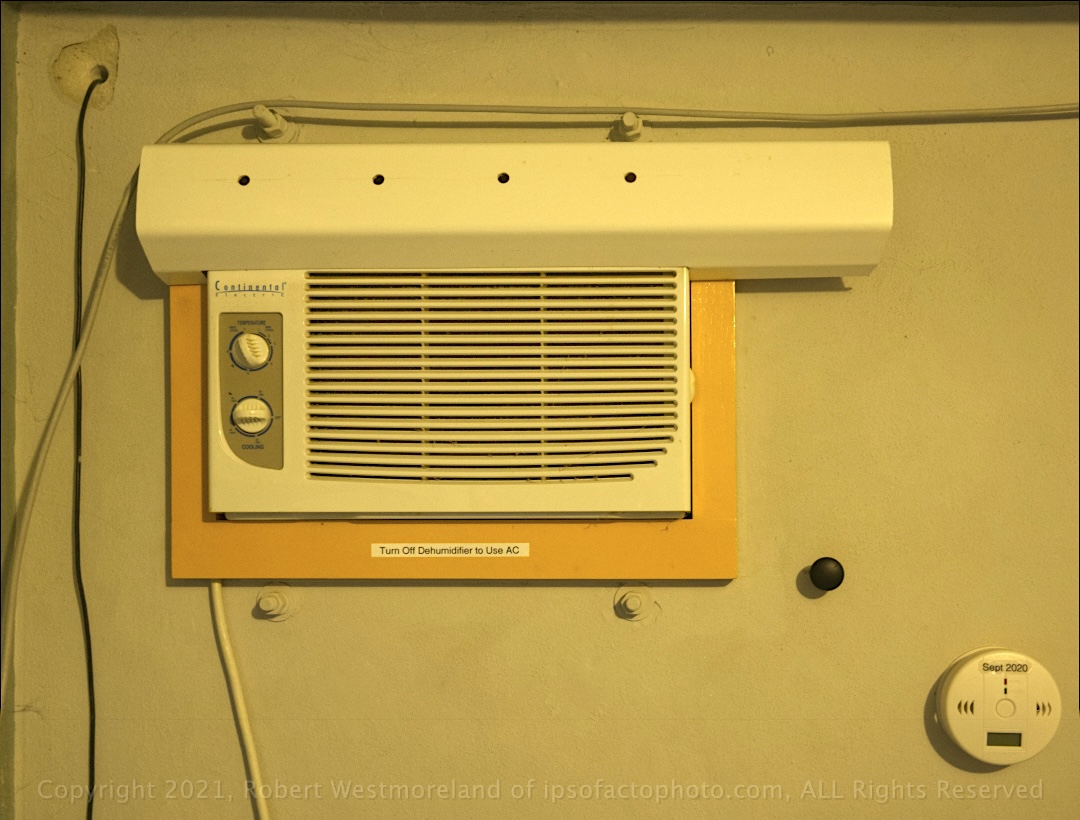 AC for when I need it. And a carbon-monoxide monitor
There is a formal eye-wash bottle mounted over the utility sink as well.
The Plywood Sink, Utility Sink & Water Panel
The main sink was built from a piece of marine grade plywood and is 6 feet long to the inside. It’s strong enough for me to stand in it. The high sides and back serve as splash guards. The ribbed bottom provides a little stand-off for large trays.
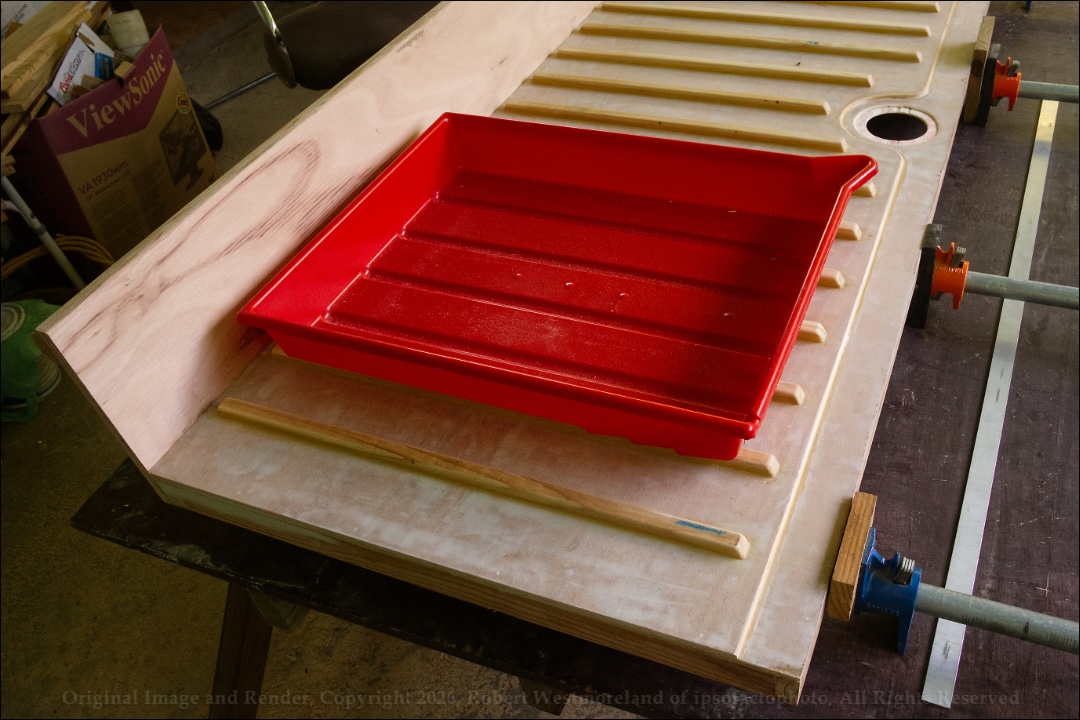 Plywood sink, partial assembly with ribs installed, 11×14 inch tray for scale
My first attempt at applying a finish failed. The ‘marine grade’ epoxy resin was too old and never set-up. It had to be stripped off with a putty-knife and acetone, out on the back porch. After that fiasco I settled on a Sherwin Williams water-based epoxy. I applied it with a short roller and it went on perfectly. It dried rock-hard in a few hours. Seven years later, it’s just as hard and shiny as the day I did it.
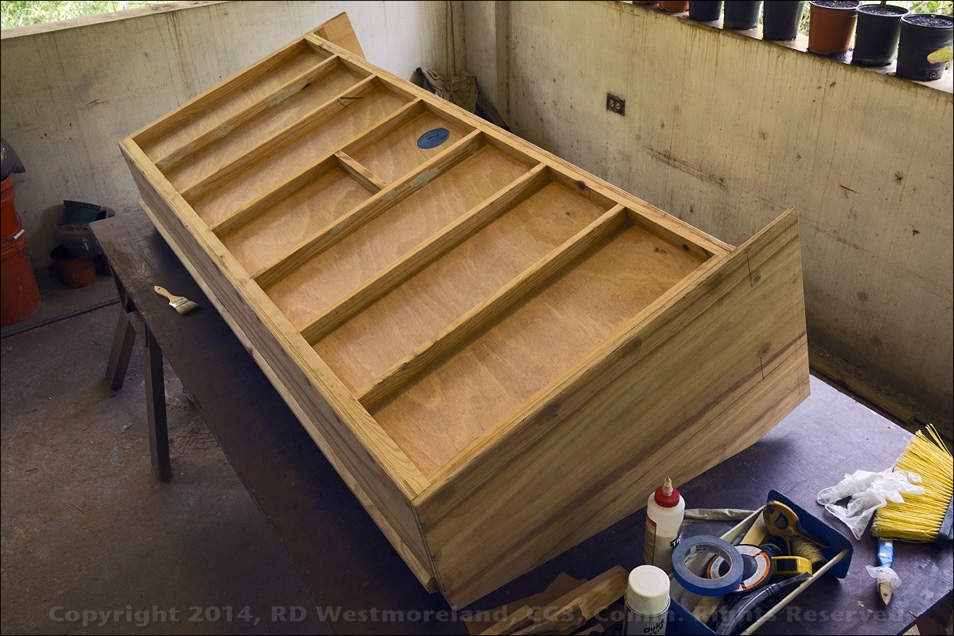 Bottom of finished plywood sink, ready for epoxy coating
Though it can be disassembled, the steel sink stand is welded at critical points and supports a heavy-duty PVC shelf for trays and bottles.
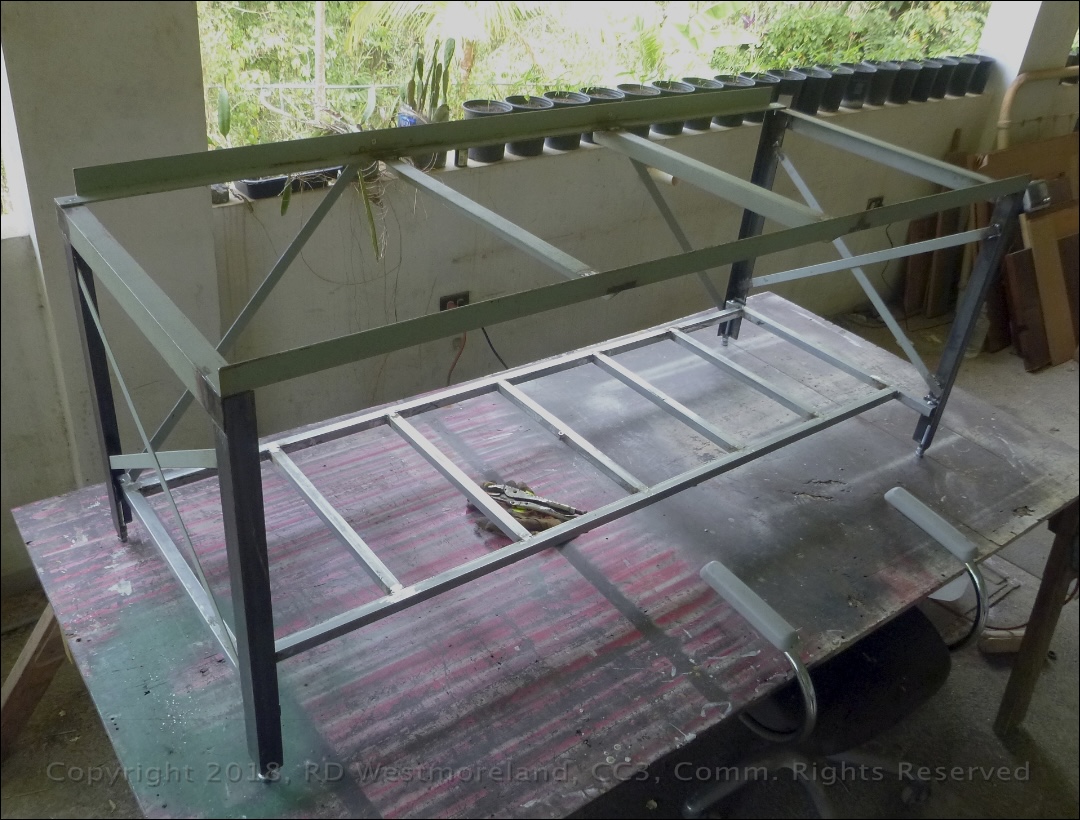 Steel stand for plywood sink with bottom shelf, primed and ready for paint
The stand for the Utility Sink was yet another square tube welding job.
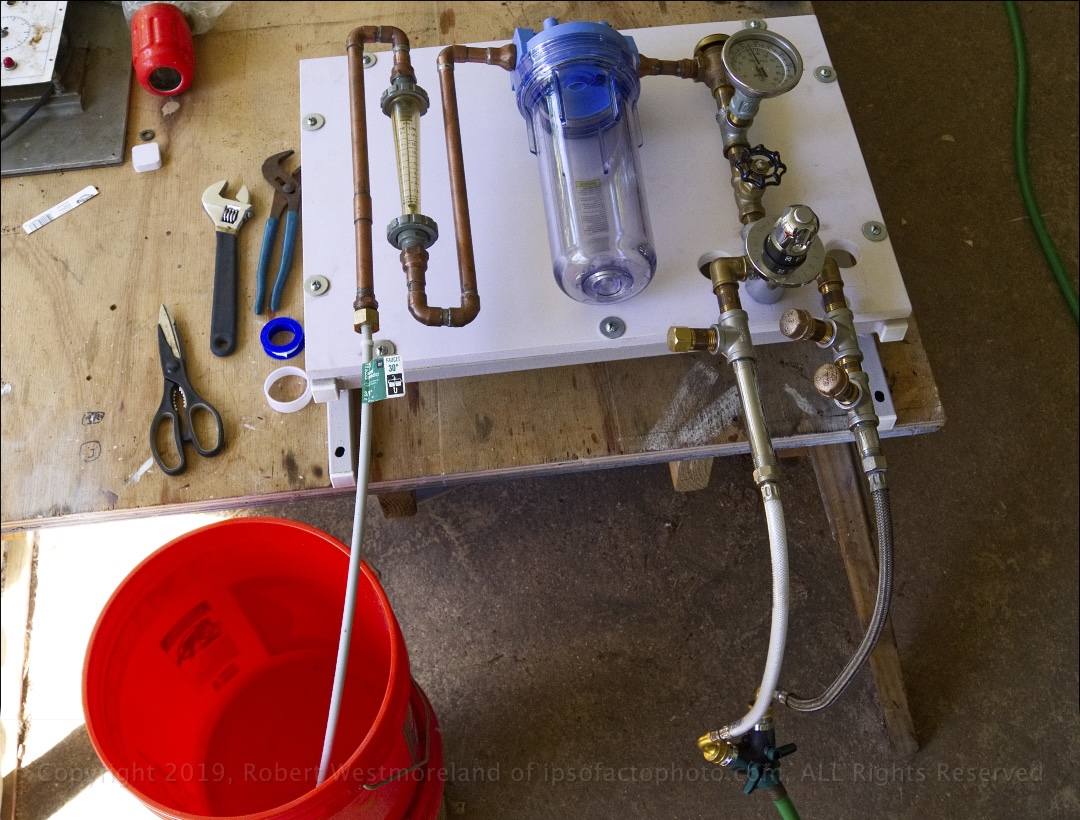 Testing water panel parts before final installation.
Other Key Components
The water panel I scored off eBay was also an exercise in frustration as the water-mixing unit leaked. I was able to use the filter housing, temp and flow-meters from the scavenged water-panel. I replaced the bad water-mixing unit with a shower mixing unit for a bathroom install. The goal is to simply eliminate gross particulate from entering the rinse water and keep the flow rate to a trickle. It works now.
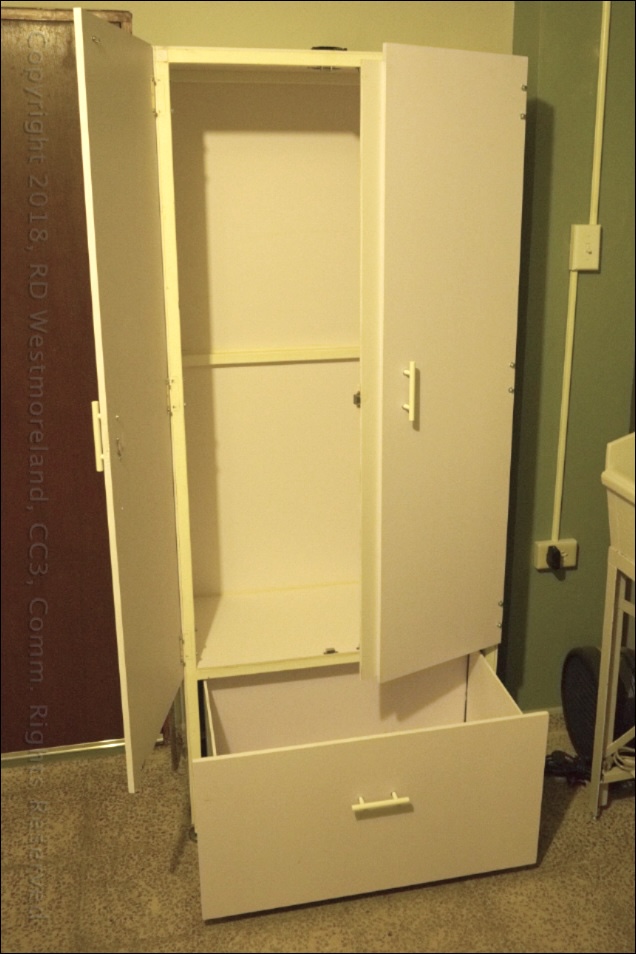 The Film Drying Cabinet covered in PVC, with vents and biscuit fan
Film Drying Cabinet- This was another welded square tube and PVC covered project. It’s relatively air-tight since it was put together with screws and silicon caulk. Small screened vents were added at the bottom and a small biscuit fan was mounted to the top. Since our general conditions are usually pretty warm, there was no reason to add a heating element to it. When not being used to dry film or paper, it serves as temporary storage.
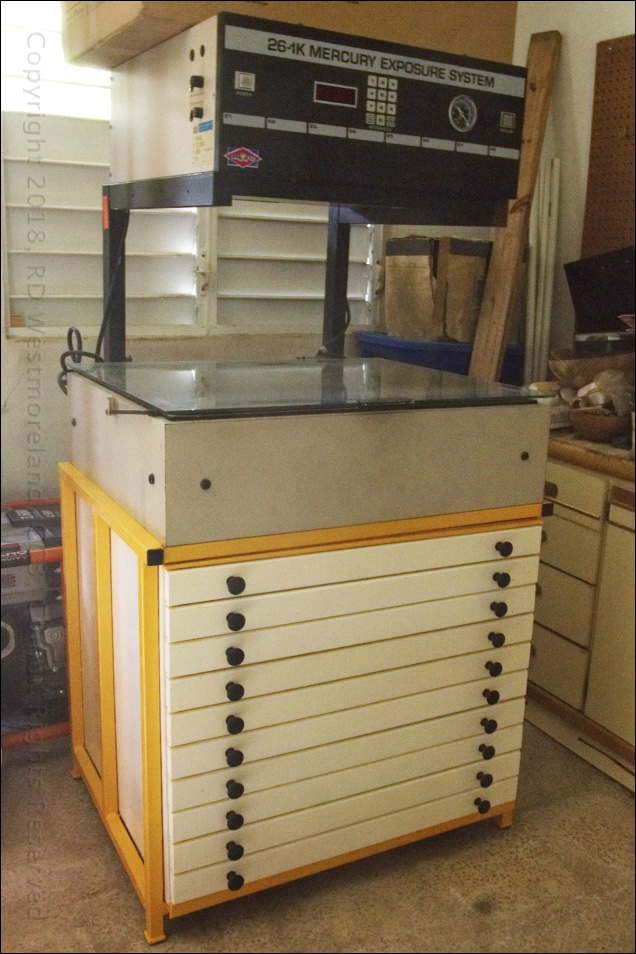 The 10 drawer DIY flat-file and NuArc plate burner
10 Drawer Flat File and Stand for Plate-Burner- This was one of the more complicated things I made from scratch. I spent a lot of time looking for cheap, used flat-files before giving up and building this one. Basically, I built the flat-file as a plywood box (just under counter height), then welded up a square tube frame to fit around it. The frame bears the weight of the Plate-Burner, not the Flat File box.
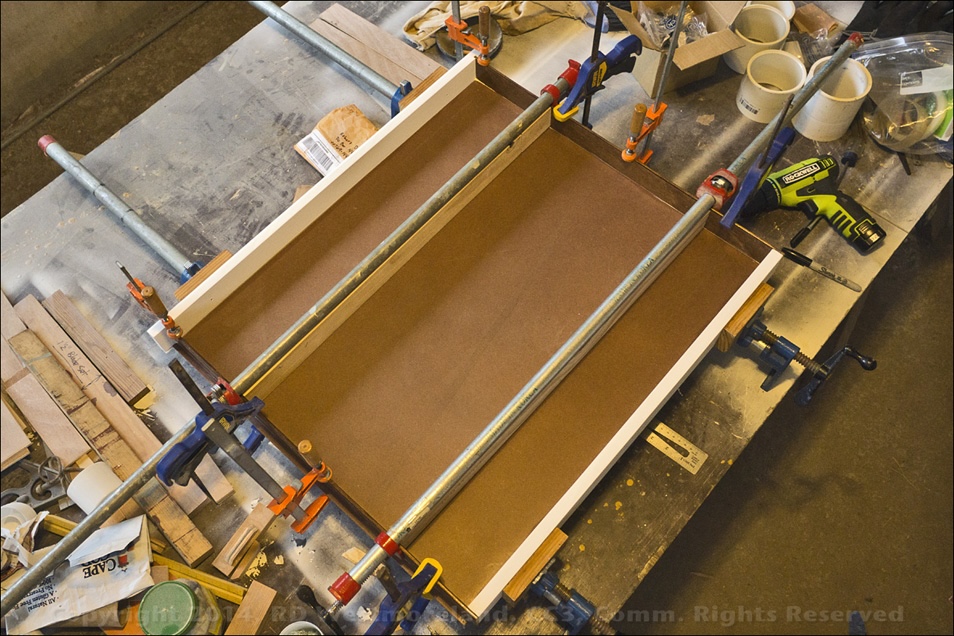 A DIY flat-file drawer under glue-up
I scored a type of thick nylon tape I could use as a ‘slide’ for the ten drawers which are made of hardwood pieces and 1/8th inch Masonite for the bottom. To the inside, they measure 23.1875” deep x 26.75 wide. All of that went well. I’m happy with the result, though the colors are a little loud.
I could still use another one.
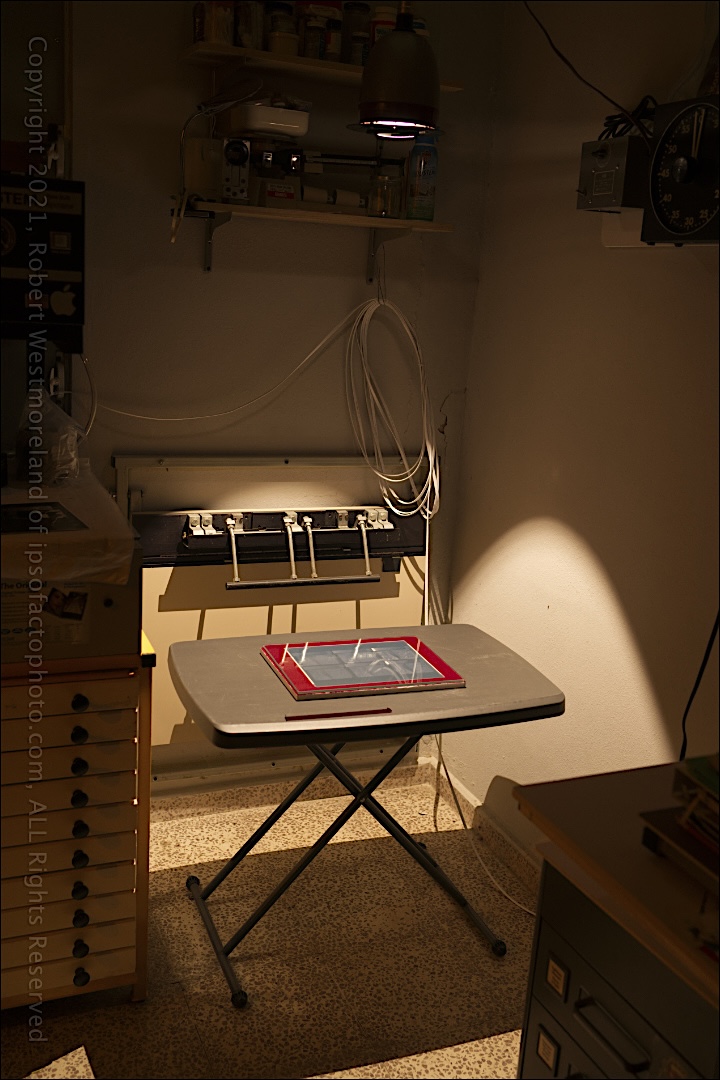 The Duarte film punch, nicely tucked behind the contact print table
The Wall Mounted Duarte Film Punch- Since the punch is not something I use very often, I made a square tube frame that would pivot out, into position when needed and then pivot back against the wall when not. A simple metal pin keeps it in position. Otherwise this space is dedicated to the K&M Point-Light-Source. Both of which I got off eBay.
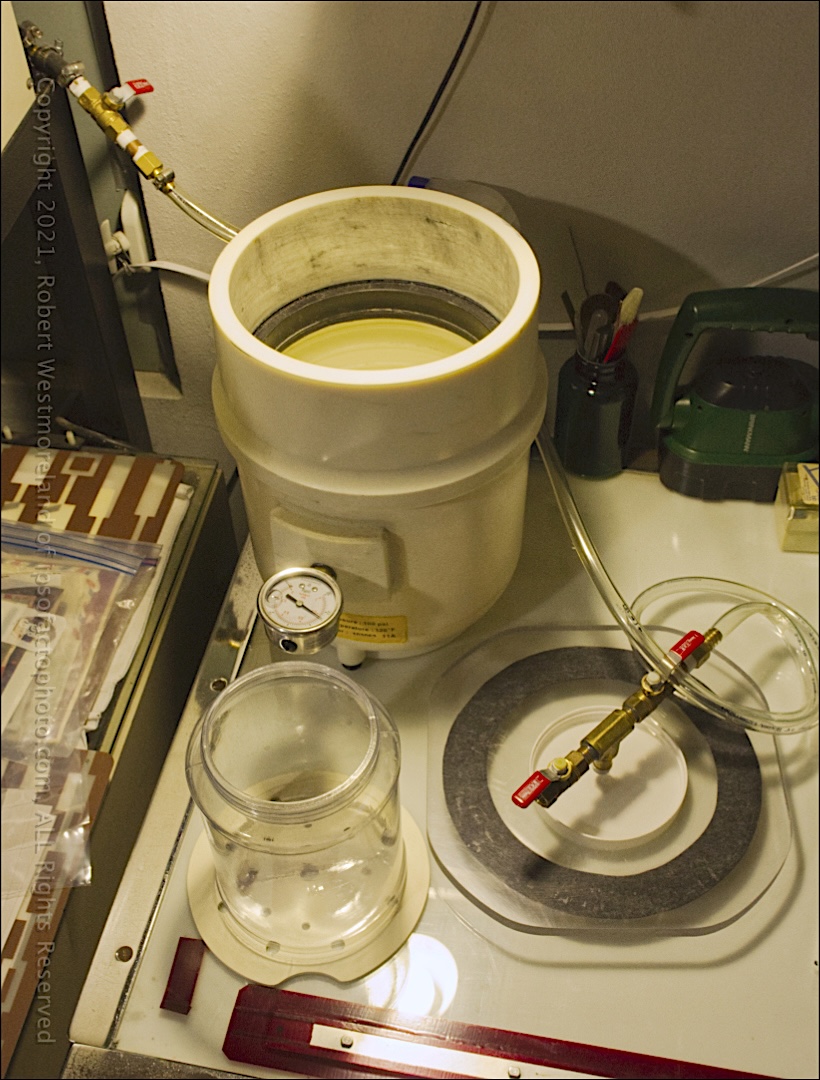 DIY Vacuum Pot connected to vacuum line from plate-burner
Vacuum Pot for Pulling Air from Coating Solutions- This helps remove tiny air bubbles that may result in tiny white specks. Some folks just add a bit of alcohol to the composition to drive off the bubbles. I wanted to verify it was actually a problem and a vacuum vessel helps do that. To make this work, I added a splitter to the vacuum line on the NuArc Plate burner, as well as an inline bleeder valve that mates up to the vacuum line to the Pot. The clear acrylic top to the pot has its own set of valves and a vacuum gauge mounted directly to the vessel. Have not used it yet, but it seems pretty straight forward.
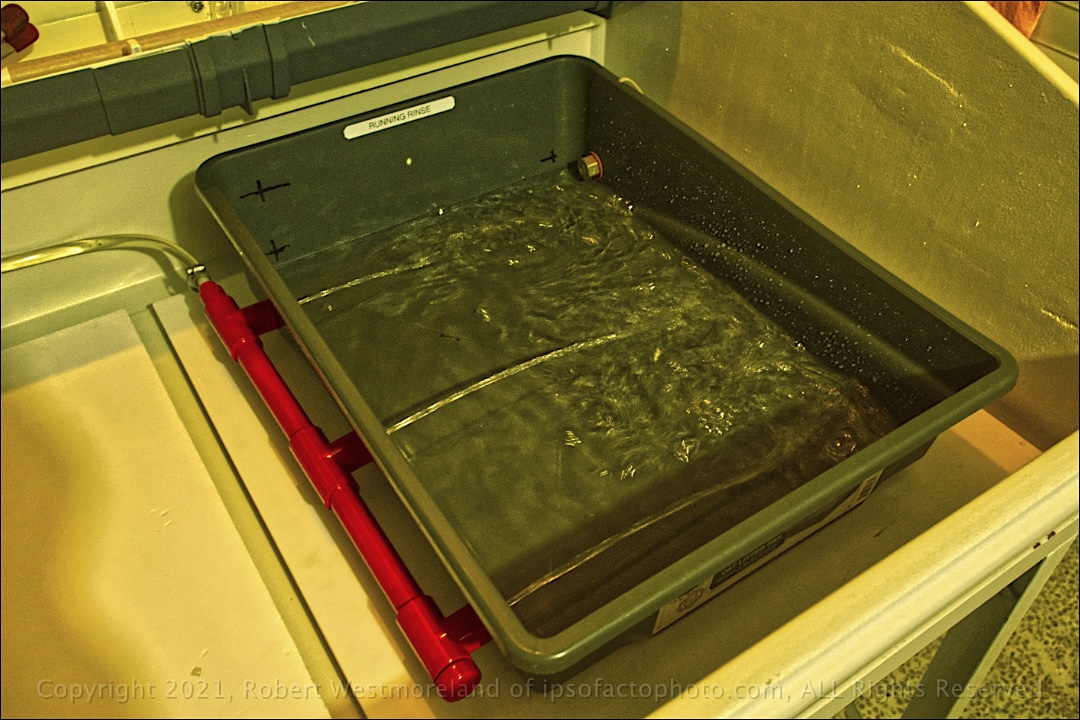 Running water print rinse tray
Continuous Rinse Water Tray- This was pretty simple. I used a new cat litter tray and a few pieces of 1 inch plastic pipe, elbows, ’T’s and an adapter with short tube that pushes over the end of a faucet. Our ‘cold water’ runs between 76ºF to 82ºF. That’s on the warm side, but not too warm. I’ve tried 3 different types of paper and they all held up well.
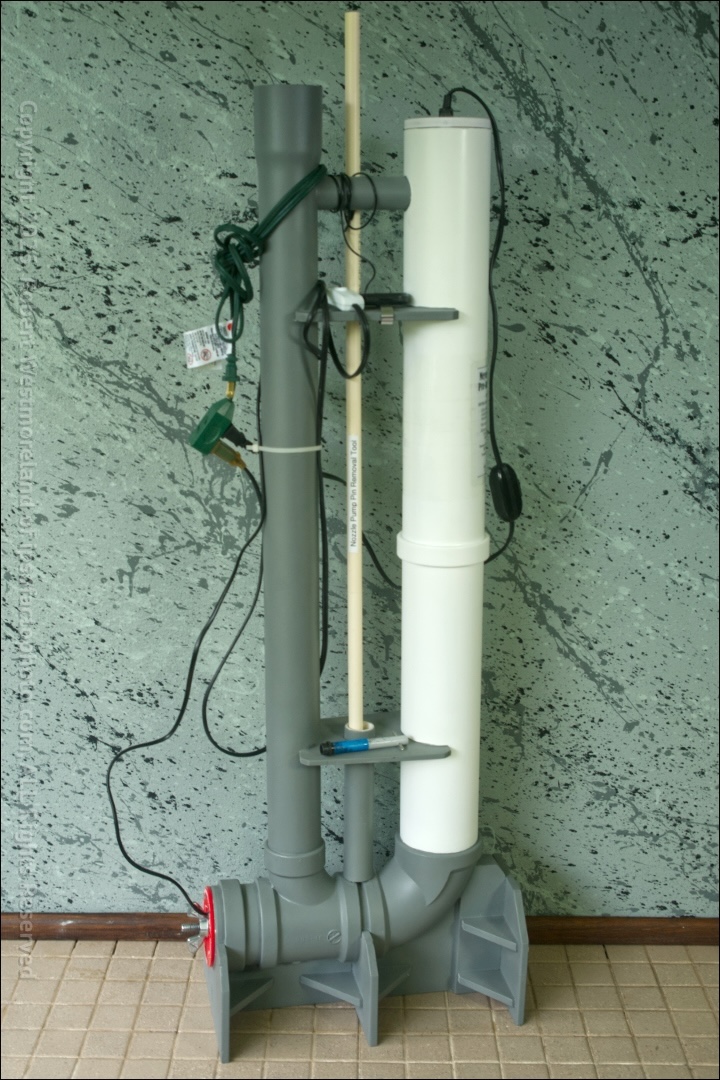 Gelatin coating rod pre-heater
DIY Meyer Rod/Coating Rod Pre-Heater- This is pretty specialized… I will not get into specifics here, other than to say, when spreading out a thin layer of gelatin to paper, a warmed metal rod is a practical necessity. I saw something like this on a YouTube vid. This one uses a coffee mug heater and a fish-tank pump to keep the warm water in circulation. Temp is monitored digitally. It was built from a bunch of scavenged plumbing parts.
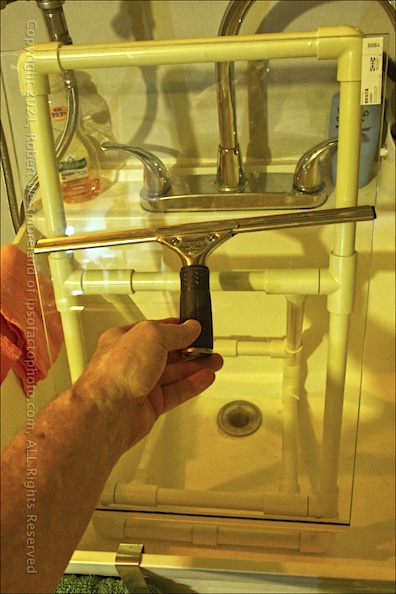 Tempered glass and PVC support for print squeegee
Tempered Glass to Squeegee Prints- The goal was to make a PVC easel to firmly hold a piece of tempered glass, from within the Utility Sink. It was a tight fit, but it works. The 1 inch diameter PVC frame collapses down when not needed.
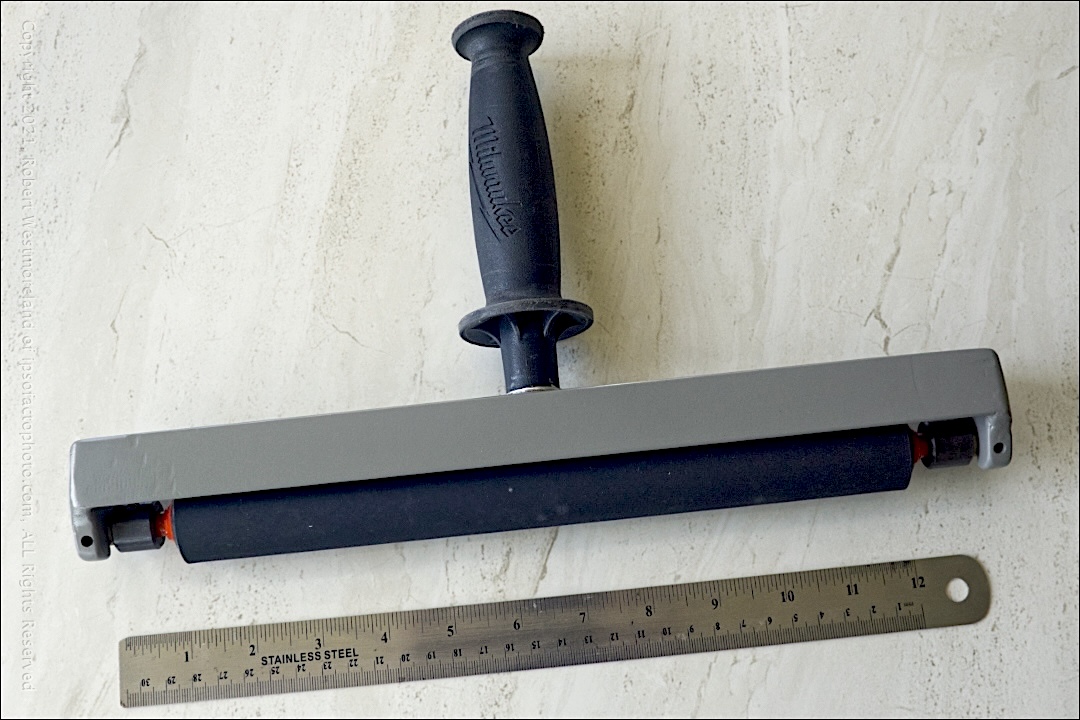 A custom brayer made from an AB Dick press roller
And a fancy DIY Ink Brayer- Last, but not least, a custom ink brayer made from an AB Dick press roller with bronze bearings and a die-grinder handle. The welding went okay, once I cut a thicker version of the threaded end pieces. True ‘ink form’ brayers are quite expensive. This one cost me less than $30 in parts.
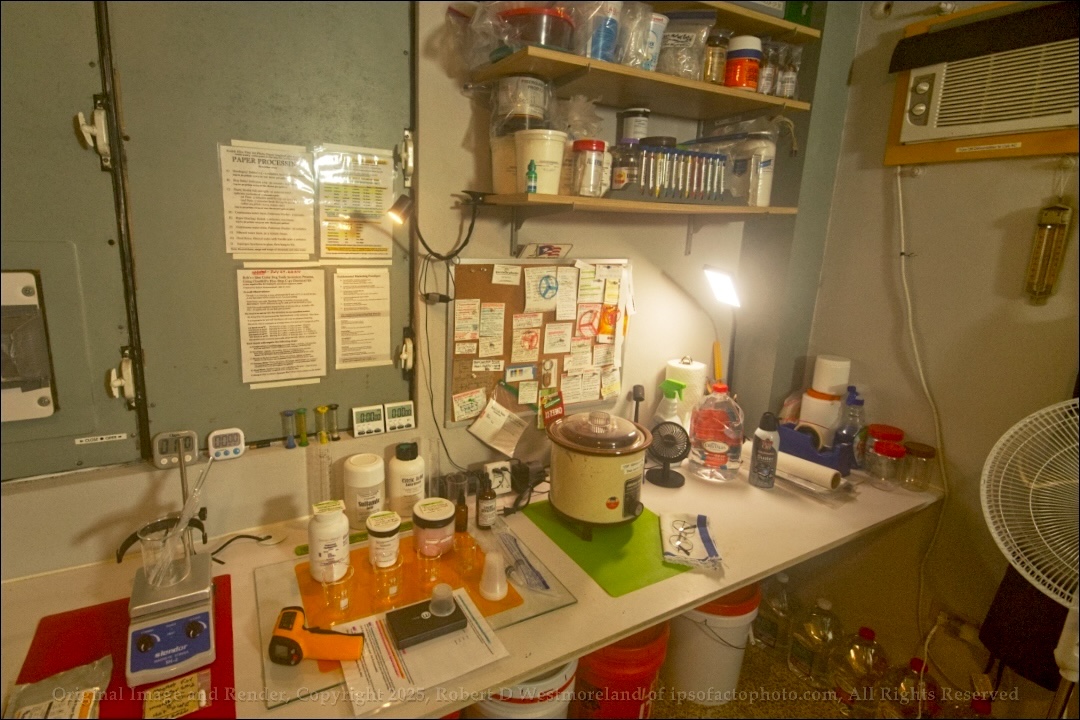 Setting up to make a Cyanotype print
So there you have it. The full AltPhoto darkroom build-out and all the assorted DIY components. If I can keep it clean and dust-free, I’ll be doing great. More darkroom posts about specific projects will follow, as I’ve already done several.